Browsing Category

Sewing Videos

All sewing tutorials with videos

Free Patterns Sewing Tutorials Sewing Videos

Free Sewing Pattern and Tutorial – Mask Case for 3D Face Mask

July 7, 2020

Thanks for all the lovely feedback for the 3D face mask! I’m glad many of you have tried it and actually took time to send me personal messages about how comfortable it fit for you. I’m so glad that it helped! It has been at least 6 months since the first case was detected here in Singapore and it shows no signs of going away.

Now on to the mask case pattern designed for these masks. Short story this time 😛 So the reason why I had to make this case is because in Singapore we are now allowed to dine out in small groups of 5. Our first visit to our favourite Japanese restaurant and when we took off our masks to eat, we had a erm… where should I put down this mask that I will be wearing again later. Certainly not on the table? In my pocket? In the bag? Well, you get the point. This is a one mask storage case for a quick temporary storage.

Pattern download here

Free 3D Mask Case Pattern

The pattern is made up of 3 pieces of A4/Letter size paper joined together. Please check that the printing is set to 100% / Do not scale before printing. Check the size of the test square (on pg1) after you have printed the files.

Do tag #JSBMaskCase on social media if you make this so we can all see your beautiful works! In the meantime, Mask up and stay safe!

The surgical mask case pattern will be released soon. Check back on the blog later!

Bags or Zakka Sewing Patterns Free Patterns Sewing Tutorials Sewing Videos

Free Pattern – The Marupochi Crossbody bag!

May 24, 2019

Those of you who follow me on IG may have seen me post about these circle bags recently. I promised a tutorial so here it is! You can watch it on both my IGTV channel or Youtube channel. Here is a picture of the finished bag and I also gave it a name to make it easy to remember. Maru means round/circle in Japanese and Pochi is pouch! This started out as a pouch pattern but I added side tabs with D-rings to make it a cross body bag. The usual way of finishing a circle pouch (or as I have learned it from Japanese books) is to finish the insides with bias tape. Alternative, the lining is hand stitched on completely. My way of attaching the lining is a bit unorthodox but it makes for less hand sewing so I hope it won’t seem so outrageous to  you! 😛

If you make one and post it on social media, please tag me @japanesesewingbooks or hashtag #marupochibag so that we can all see it! Looking forward to your creations!

Continue Reading

Free Patterns Sewing Tutorials Sewing Videos

Reversible Cube Bag – Free Pattern and Tutorial

April 4, 2018

It’s been a long while since I have posted a bag tutorial! Today I am posting a new reversible bag tutorial for the cube tote bag that I made for the Le Depart by Koizumi fabric Giveaway a few months ago.

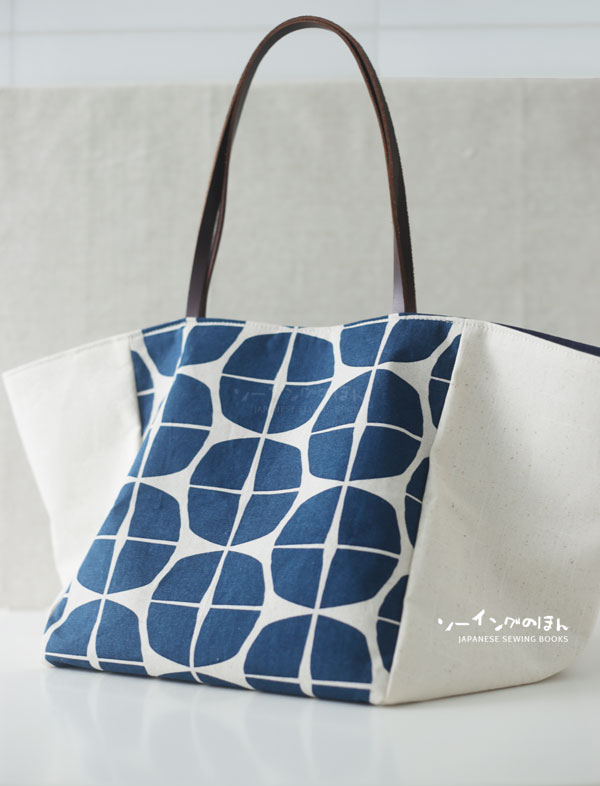
This is the first bag I made. I call it the cube bag because it’s actually in a shape of a cube! If you read the previous post, you will know that I was inspired by a video by Diy Soho I saw online, about making a bag in this shape. However, the instructions were for drafting only, and there was no instructions on how to actually make the bag. So with due credit to the original designer, I am only sharing the size I made here. If you want to custom your own bag size, please refer to the original video (link to the tutorial here)

cubetotefront

It’s really roomy and easy to make, and I actually do use this everyday because it’s so easy to find my stuff in it.

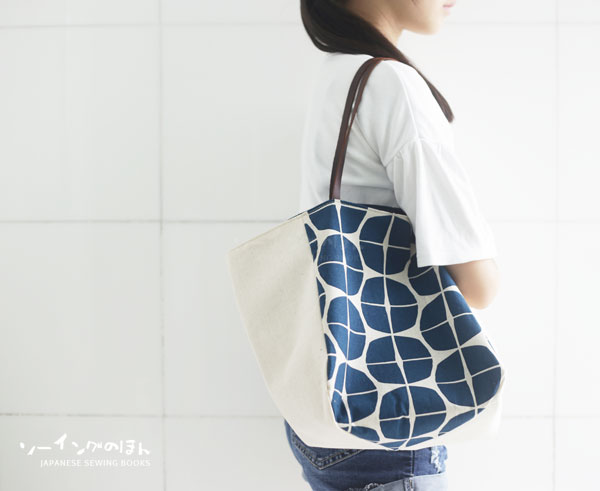
cubetotecarried

The finished dimensions of this bag is 25cm x 25cm x 25cm (when standing upright as a cube)
When the top is closed the width becomes 50cm wide, and the base is still a 25x25cm square.

Template
Download the  Free Reversible Cube Bag Tutorial (5769 downloads)

Materials List
Fabric A (Cotton + Steel Poolside Towels Blue)  – 55cm x 45cm
Fabric B – (Navy blue soft canvas) 55cm x 45cm
Fabric C (Cotton + Steel Poolside Palms Canvas Pink) – 110cm (W) x 45cm (H)
Medium weight interfacing / Fusible fleece interfacing -110cm (W) x 45cm (H)
depending on how slouchy or stiff you want your bag to be.
2 Leather straps – 1cm wide by 50cm length x  2pcs

I used Fabric A and B as contrasting panels on the outer bag, and Fabric C referred to as Lining in the tutorial. But as it is a reversible bag, you can always flip the inside out and have the cute Poolside Palms fabric out. So just mix and match anyway you wish.

Preparation

  1. First you will need a template (click here to download) The pattern is spread over two pieces of paper so just trim off the excess on the bottom of page 1 and match and stick page 2 on top of it
  2. Lay the pattern on the fold, and cut the following pieces
    2 pieces of Fabric A, 2 pieces of Fabric B, 4 pieces of Fabric C, 4 pieces of medium weight interfacing.
  3. Apply interfacing to the outer pieces (in my case i applied it on Fabric A and Fabric B because they were softer and needed more structure.Then it’s time to sew! Follow the sewing video tutorial below.ETA : I went back to Youtube to check that the link to the drafting video works, and was shown a suggested link to the making video by the same designer that showed you how to make it! I must have missed it the first time or I wouldn’t have spent time making my own video. In any case, I already made the video, so I’ll just put it up and you can choose to view either one to learn how to make it. Watch the version by Diy Soho here, or watch mine below. It’s up to you.

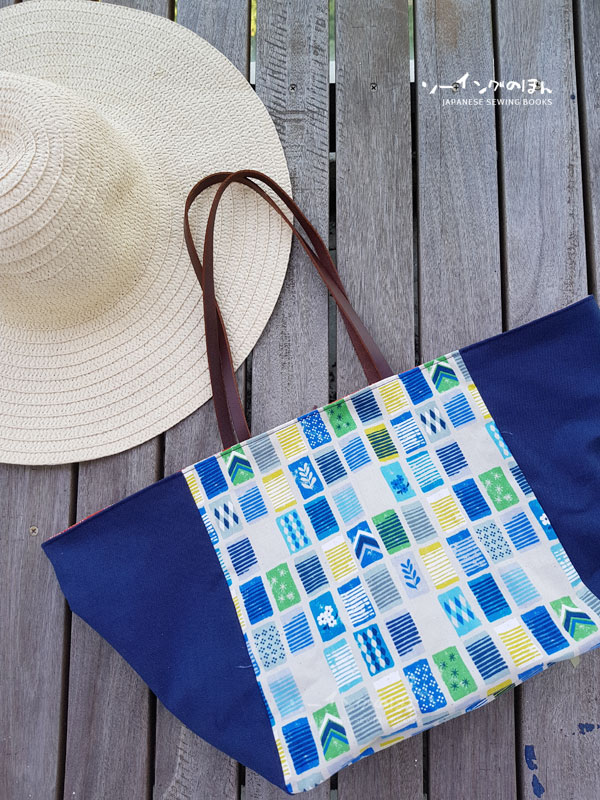
and here are some pictures of the final bag!

cottonandsteeltowelsblue

cubebagbase

The base of the bag.

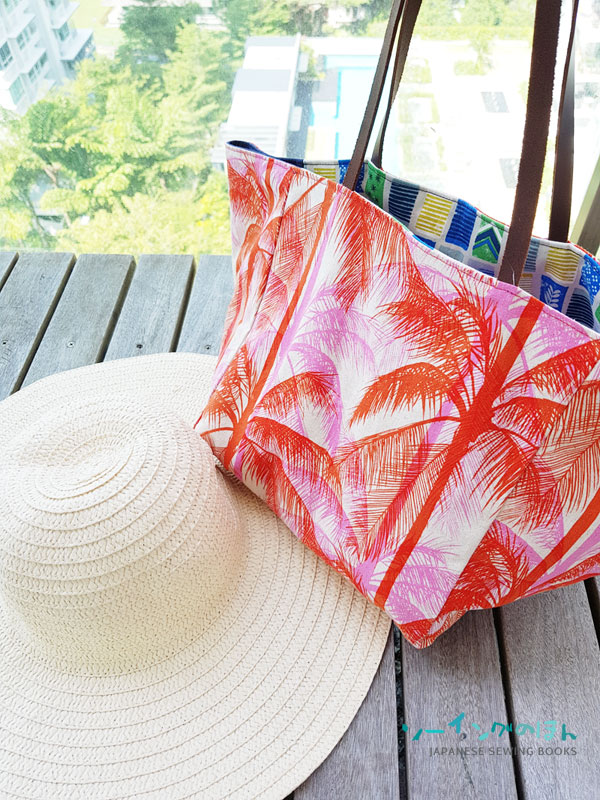
cottonandsteelpalmpink

and the reverse side. All ready for the beach!

Free Patterns Girls Sewing Patterns Kids Sewing Patterns Sew-along Sewing Tutorials Sewing Videos

Throwback Thursday – Free Chinese Dress / Qipao pattern for girls

January 19, 2017

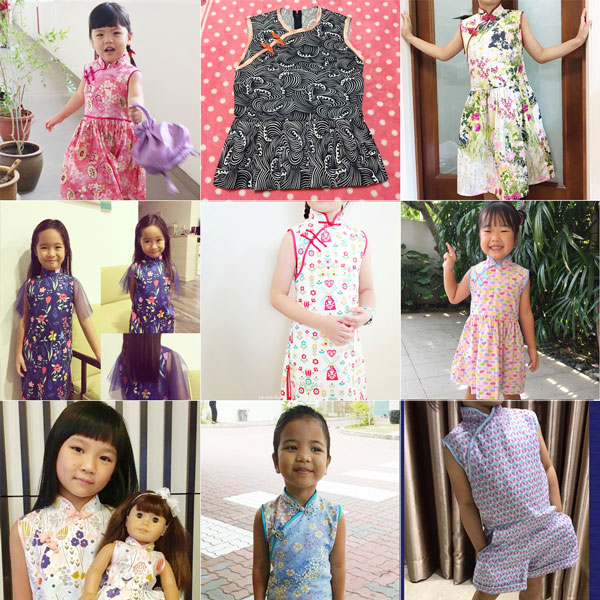
Every year just before Chinese New Year, I see a renewed flurry of activity in our local sewing community -The Sewing Network, from mothers/aunts/crafters sewing and making Qipaos /Cheongsams for their little ones. This year I’ve decided to compile some of them to show you all the amazing things that they have done with my simple template as a base.  From adding sleeves, to tulle sleeves, going collarless for comfort, adding gathered skirts, romper style, matching doll sets. All you need to give your little girl a wide smile for Chinese New Year is a simple and free pattern, plus lots of love and creativity. 🙂

compilation3_9x9_600

This pattern had its roots 9 years ago, when I first made attempted to make a mash up dress+chinese collar for my then 3 year old daughter. Being inexperienced, I created a front flap opening, but sewed up the gathered skirt at the waist line. Needless to say, it was a struggle getting in and out of it, haha… That idea was revisited a few years later, you can imagine how traumatized I was at my failure, but I was determined to get it right, by copying the side opening from a store bought Qipao my husband bought for us from his business trip to China. I finally understood how it worked and so created a free pattern (click here for the free pattern) and launched it in January 2014, plus sewing video tutorials (click here to watch the videos on youtube) to make it easier to understand.

Anyway, this year, Chinese New Year falls on 28th Jan which is rather early. It seems like Christmas just came and went and I just got settled in the new school routine. But it’s based on the lunar calendar so it’s not up to us to decide ;P  I am still struggling to spring-clean, and am still sewing our new outfits for CNY2017. I have lowered my personal expectations for this year and I’m probably only going to make one outfit per person instead of 2. I just hope I can make it in time!

In the meantime, have a look through and get inspired by these creative ladies from our local sewing group – The Sewing Network. Click on the arrows to see the next slide. The copyright of photos belong to the owners as stated in each picture. If you wish to be included in the gallery, just message me on Facebook or email me with your photos.  Enjoy and be inspired!
abigailchee

Pages: 1 2 3 4 5 6 7 8 9 10 11 12 13 14 15 16 17 18 19 20 21 22 23

Boys Sewing Patterns Japanese Sewing Books in English Kids Sewing Patterns Sewing Videos

Sew-Along for Boy’s Stand-Up Collar Shirt Day 3

January 11, 2017

Day 3 and final day of the sew along. If you haven’t , go to the first post here.

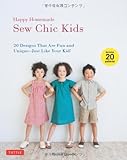
The book we are sewing from is

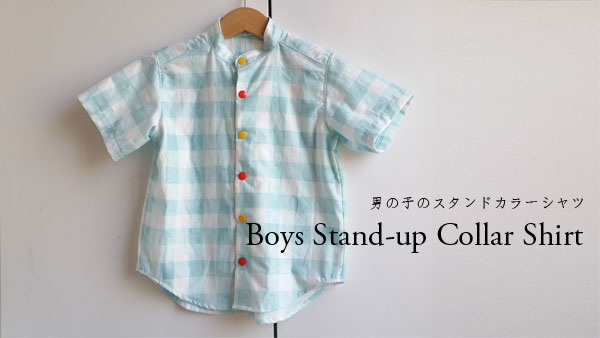
boysstandupcollarshirt

In the previous post, I covered steps 1-3. In the following video, you will see the rest of the steps – 4-8.  Even if you don’t have time to sew it now, bookmark this page and you can follow along any time you want.

You will noticed that I used snap buttons instead of buttonholes and buttons as stated in the pattern. But this is for a good reason. I needed to add some color to the shirt since it is for Chinese New Year, so I chose snaps in colors that will go with the pants I am making to complete the outfit. More on the pants soon!

I also wanted to make a note about the instructions in the book. The terms upper and lower collar were used for this pattern. Even though I’m not entirely sure of the correct terminology, it seems that the terms switched in some of the diagrams, which was quite confusing. In my video, I used inner and outer collar instead. With inner referring to the inside of the shirt and outer referring to the outside of the shirt. The interfacing for the collar should be applied on the outer collar (I think!). The other mistake I made, which I only realized later, was that I added seam allowances to my collar interfacing. The collar interfacing should be traced without seam allowances. This is to prevent bulk in the seam. Luckily the interfacing I used was quite thin, as I didn’t want a stiff collar since it was a for a toddler, and it I think it turned out quite alright.

I hope you learned from my mistakes too and make a great shirt of your own. Happy sewing!