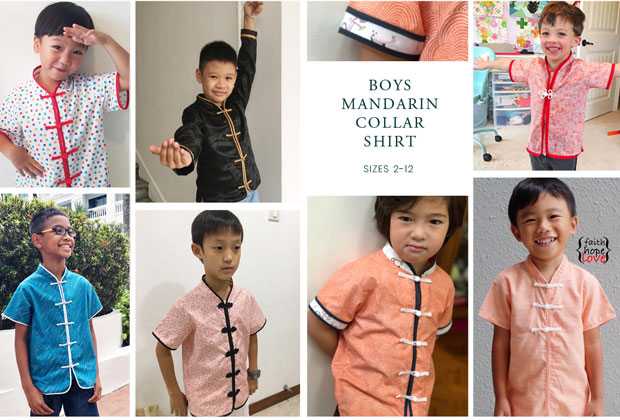
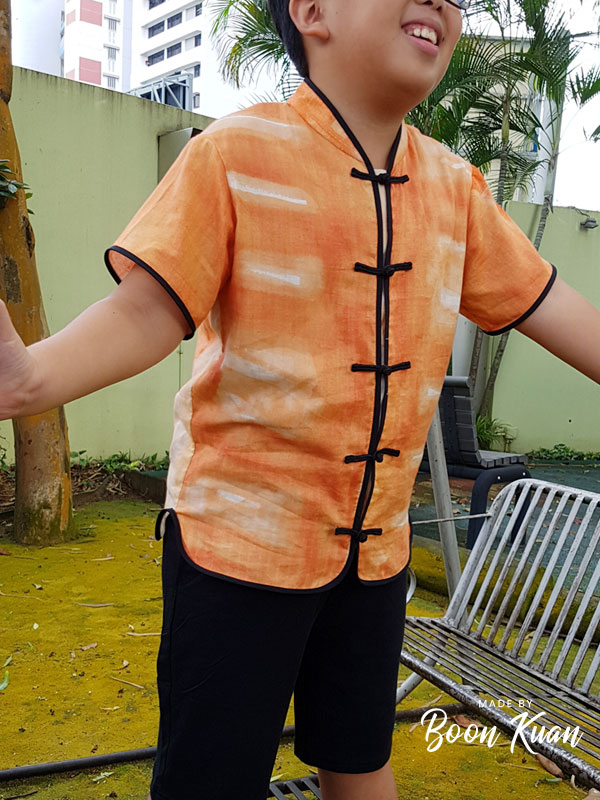
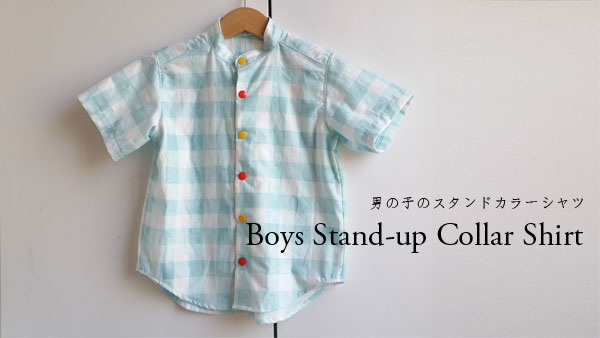
Today I am launching a new pattern for Boys – A Mandarin Collar Shirt which is a matching piece with the Girls Qipao.
I made the first version of this Boys Mandarin Collar Shirt two years ago, when I was trying to come up with something festive for my 1 year old. I made a top with the same fabric for my oldest girl, and I had some fabric left, so I mixed and matched with some bias and co-ordinating fabric and the result was pretty cute! I then posted it on Instagram and then people started asking me where they could get the pattern. I hadn’t even jotted down the steps! I promised some of my readers I would release the pattern in time for Chinese New Year last year, but you know, having a toddler in the house just throws all your timing off. Fast forward 2 years later, I finally got round to doing it. 🙂 Luckily I still had the original shirt, but I actually had to scrutinize the original shirt to remind myself how I made it.
So here it is! A boys Mandarin Collar shirt which is festive looking if you do the full works of contrast cuffs and collars, but can also be toned down to a single palette for a more subtle/sophisticated look.
This pattern is for Boys sizes 2-12 years, and includes A4/Letter size tiled PDF for home printing, as well as a convenient A0 size pattern for printing in a copy shop if you hate to piece patterns.
Boys Mandarin Collar Shirt This pattern is now available at my PDF sewing pattern online shop – Porcupine Patterns.com. Here is the size chart for your reference.
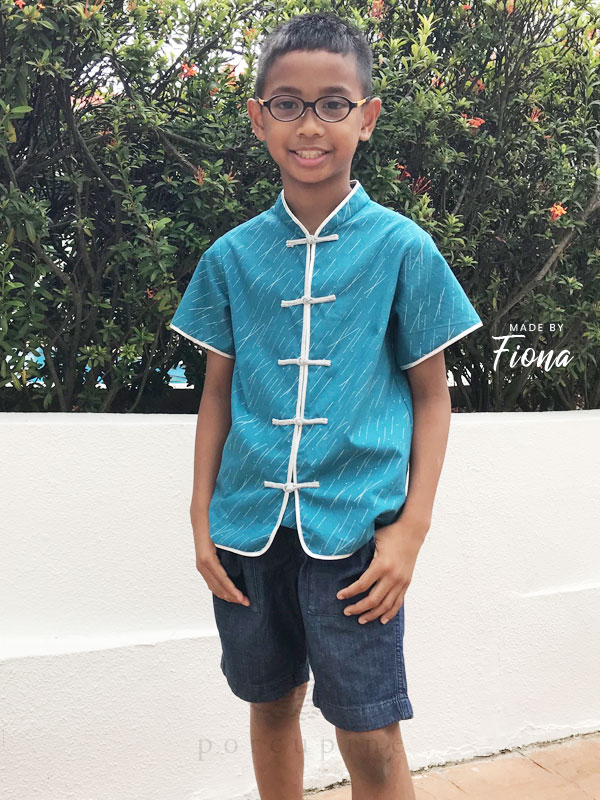
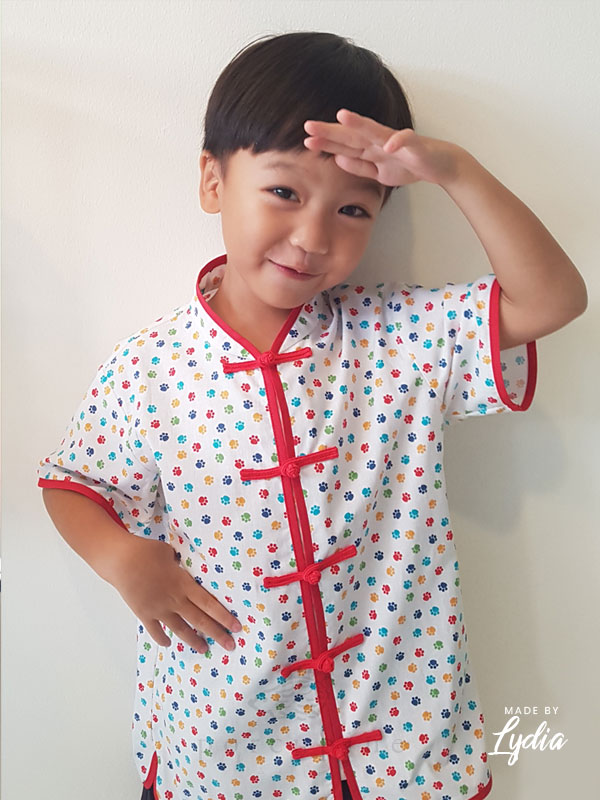
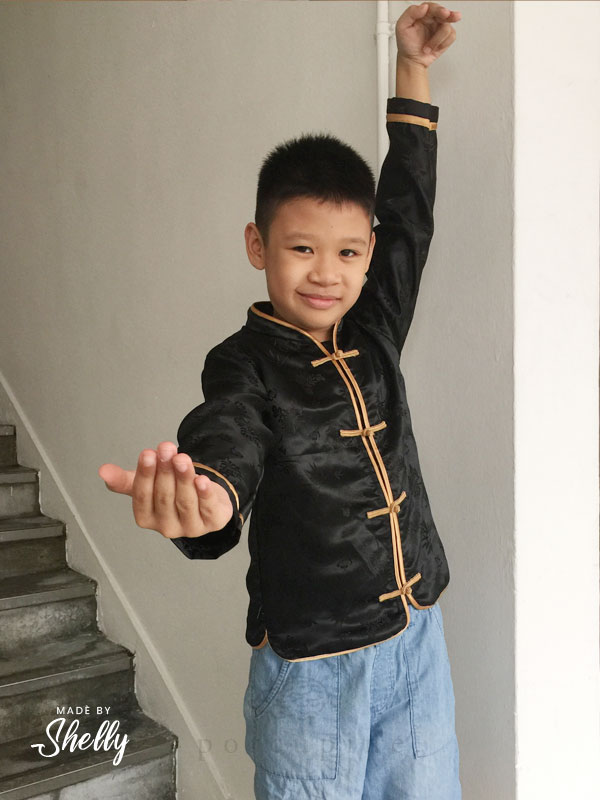
Here are some photos of the shirts made by my testers for your inspiration. Enjoy!
Specials
For 2 days only, there will be a special launch price of 20% off the pattern.
Key in LAUNCH20OFF at checkout to make use of this special offer!
For Customers who have already bought the Girls Qipao, you will get a special discount for the first two days as well. You will get 30% off the price – key in GQP30OFF to claim this offer!
Note : This discount requires you to have purchased the Girls Qipao pattern previously. The shopping cart will detect your eligibility for this offer. If you have and are unable to use this code, please email me at porcupinepatterns@gmail.com.
Last but not least, those of you who have not purchased any patterns, but would like to buy both the Girls and Boys pattern as a bundle, I have created a separate listing for you.
This amounts to 50% off the second pattern! This will be a permanent bundle price item in my store.
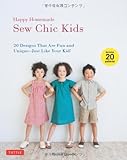
I know many of you have been excited about this one. This book was recently released in March, and the cover was so inviting that I couldn’t wait to get my hands on it. And boy was I glad I did! I actually missed out on the first one that was published last year, because at that time I had too many new books. The reviews on the first KANA’S STANDARD for Kids on Amazon.co.jp wasn’t fantastic despite the raves about the designs, because apparently there were problems with the pattern sheets. Let’s see if this book does better.
Disclaimer : This blog post contains affiliate links.
Many of you have asked me about books for boy sewing patterns. Sadly, other than a few old and maybe out of print books dedicated to boy sewing, I have not seen any new books with ONLY boy patterns. However, I do notice that there seems to be more variety in boys clothes nowadays in kids sewing books. This book for example, contains quite a fair bit of boys patterns.
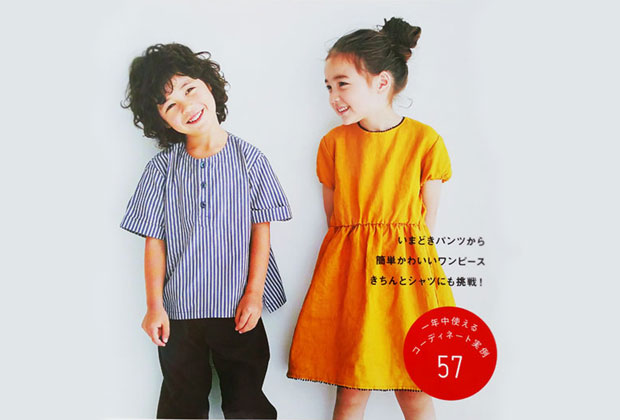
This book has patterns for co-ordinates derived from 4 base patterns (2 tops and 2 bottoms), into a total of 25 possible garments including shirts, dresses, blouses, a whole bunch of different pants with different features, even skorts and salopettes. I initially thought there were 57 different garments, but I did a count and it was actually 25. The number 57 on the cover refers to the number of actual styling examples they provide in the book. Here’s a look at some of my favourites! You can see the rest of the book in the book flip-through review at the end of the post.
The first base pattern A is a shirt pattern. The variations include
A1 – Sleeveless shirt
A2 – Shirt dress
A3 – Puff sleeve shirt
A4 – Half sleeve shirt (above)
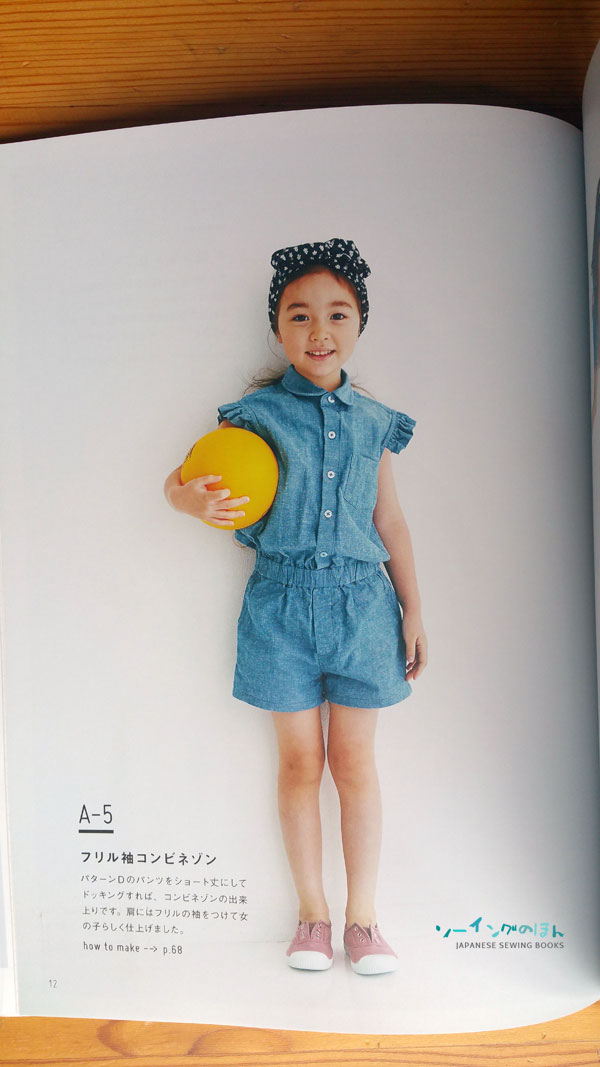
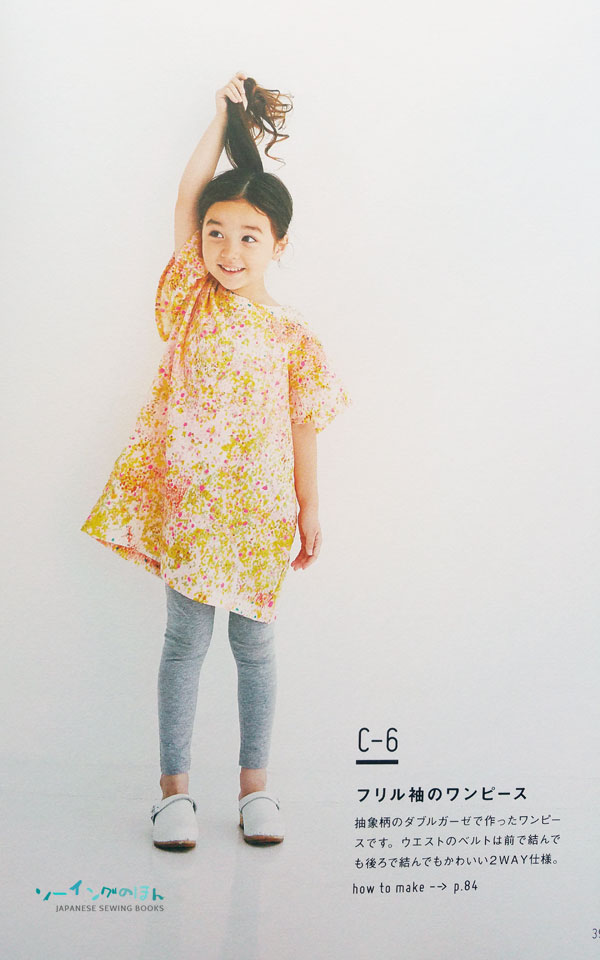
A5 – Frill sleeve combination (above)
A6 – White shirt (the formal type)
A7 – Gingham Checked Dress
Pattern A is basically your go-to pattern for all kind of shirts. From the formal white shirt to shirt dresses, sleeveless, sleeved, puffed sleeve, frills, round collar, pointed collar… you can probably do a mash up of any of these patterns to create your own unique outfit too!
Pattern B is a Tuck pants pattern, featuring tucks at the waist line, tapered pants, a waist band, fake fly and belt loops even.
B1 – Dotted print pants
B2 – Denim pants (above)
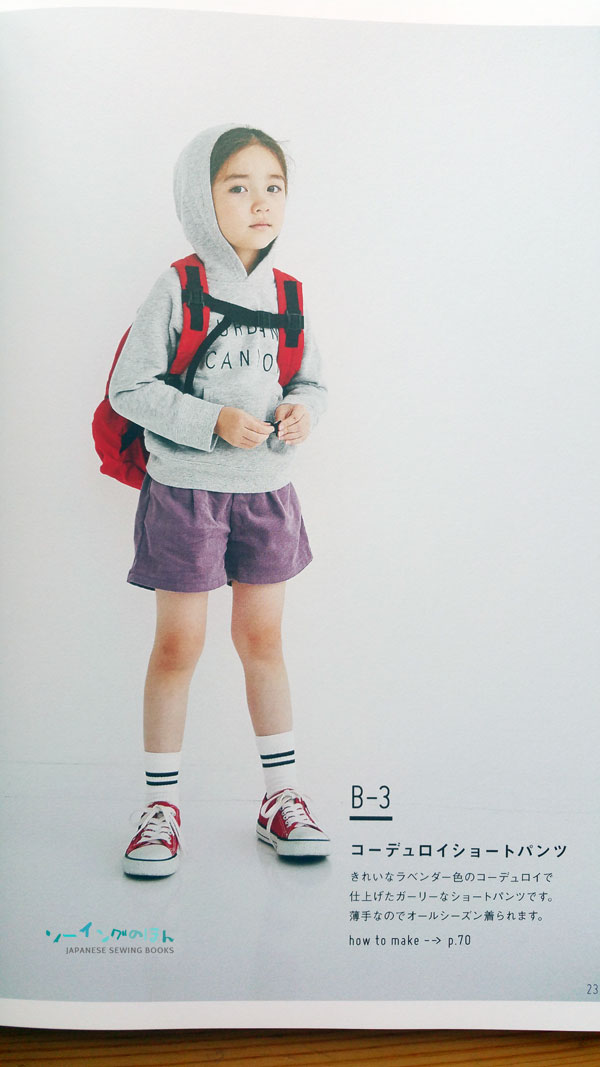
B3 – Corduroy Short Pants
B4 – Salopettes. Love the frills on the straps!
B5 – Belt loop half pants
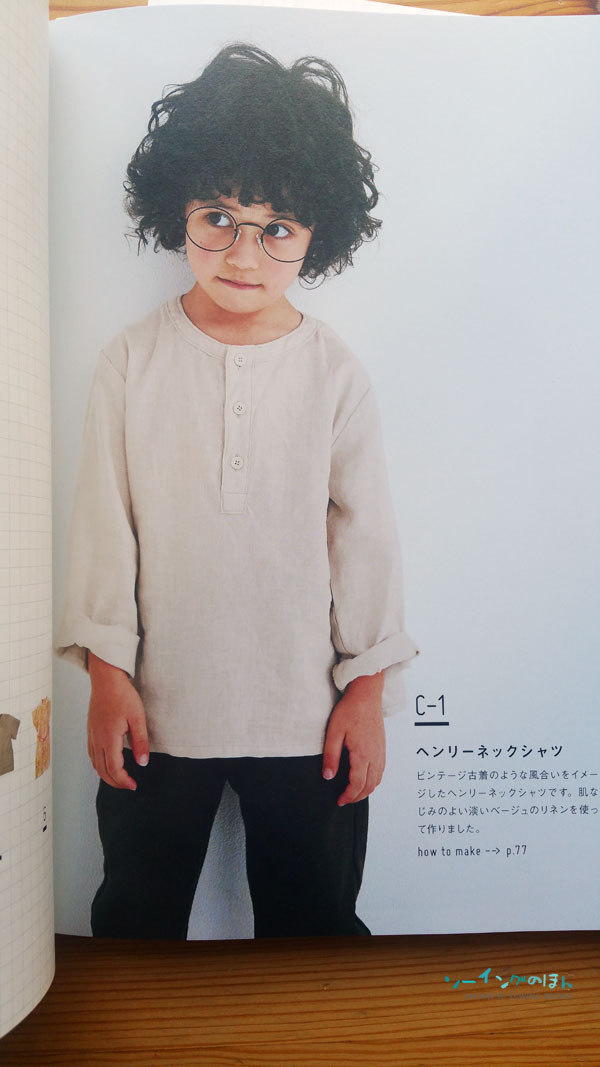
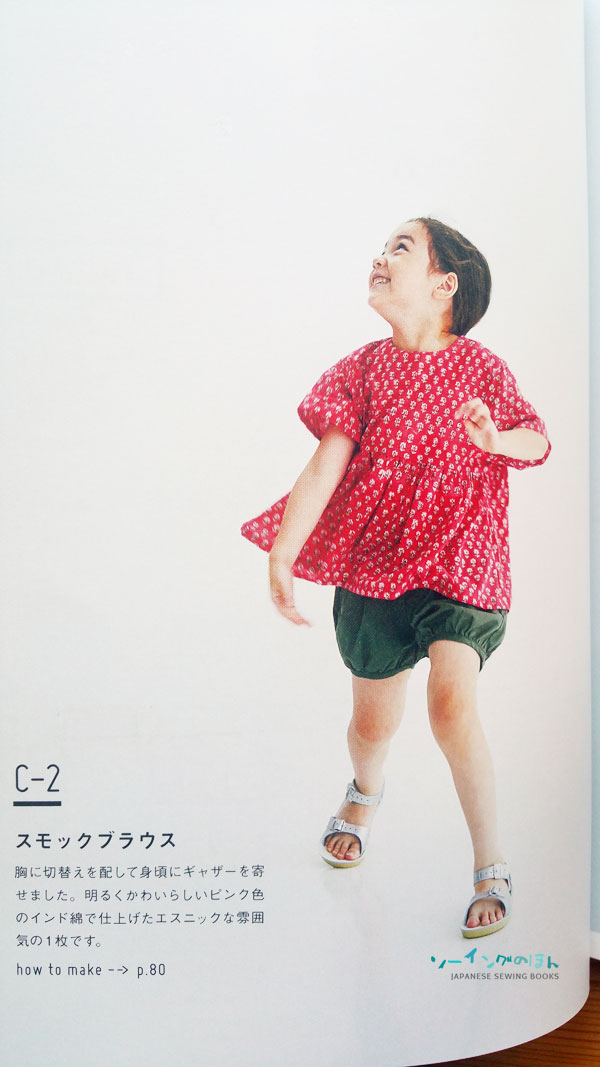
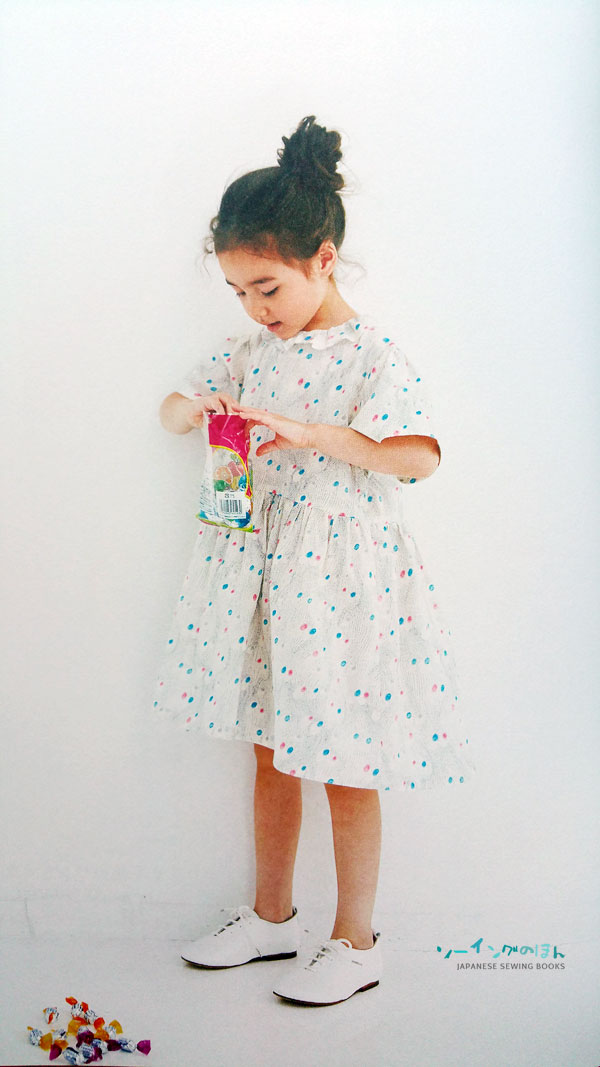
Pattern C is a more casual top pattern, also named the Pullover. Easy to wear for kids who hate fussing with zips and a whole placket of buttons.
Pattern D is another pants pattern, but this time it is a straight cut, which means wider legs and roomier bottoms
D1 – Check pattern half pants
D2 – Inner pants skirt
D3 – Cargo Half Pants
d4 – Chino pants
D5 – Salopettes (picture above)
D6 – Belted short pants
Styling ideas for the different patterns and variations.
Now for the how to make section.
There is a whole page of numbers and text before the actual how to make section.
The size guide was kind of hidden on this page. Check to see if this book contains the sizes you need.
Japanese terms from the top : Reference dimensions 100/110/120/130/140 Sizes)
Bust
Waist
Hip
Reference age … 3.5 yrs / 5.5 yrs / 6.5 yrs / 8.5 yrs / 10.5 yrs
For added reference : The boy model is 110cm and the girl is 111cm, and both are wearing 110cm size garments.
In the same page, there is also a reference “table” for all the dimensions of the finished garments. You have to refer to the Pattern name and number and check the corresponding dimensions based on the size you are making. For the different patterns, there are different dimensions given. Some are bodice length, some are pants length, or waist dimensions. You may want to refer to the dictionary of Japanese sewing terms to decode all the terms listed.
I thought it was rather odd to place this info in one page instead of on the individual pattern pages, but it is just a minor inconvenience. The rest of the book is laid out as per usual.
Sample of how to make page. This is just page 1, there are more pages with detailed diagrams.
Close up of diagrams.
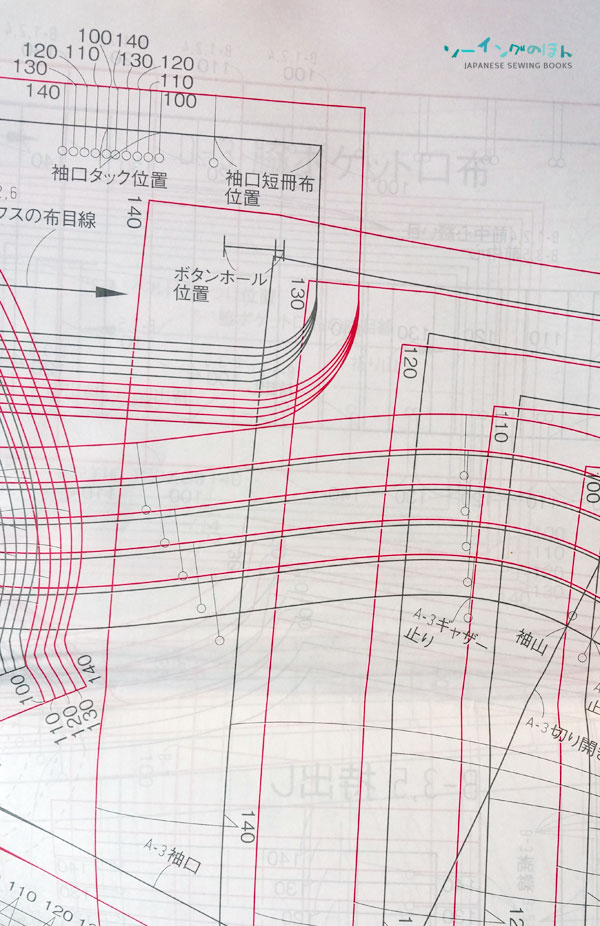
2 large double sided printed pattern sheets.
A quick note about the pattern sheets. There were a couple of reviews on Amazon.co.jp that complained about the pattern sheets. I can understand why, as some of the lines are really drawn close together. It will be a nightmare to trace! However, you can use a frixion highlighter to highlight the lines before tracing. I use these pastel ones because I like how it is not too bright, but visible enough under the tracing paper.
Here’s the full book flip through review.
Personally, I find this book a great resource for both boys and girls patterns. Lots of wearable patterns and daily wardrobe basics. However, it is not really meant for beginners. Despite the easy to read diagrams, most of the techniques (like shirt making) may be more advanced. The pullover top is probably the easiest of the lot, and it is also the pattern that the kids on the cover are wearing. All the pants in the book require the making of the fake fly. A nice touch for making easy to wear pants for kids look more grown up and less “home-made” if you know what I mean. I will still recommend this book though, especially if you have both boys and girls to sew for. The designs are classic and stylish, and I think I will get to use it a lot!
Title : Kana’s Standard for kids II
Author : Kana Sato
ISBN No. : 9784579116003
In the previous post, I covered steps 1-3. In the following video, you will see the rest of the steps – 4-8. Even if you don’t have time to sew it now, bookmark this page and you can follow along any time you want.
You will noticed that I used snap buttons instead of buttonholes and buttons as stated in the pattern. But this is for a good reason. I needed to add some color to the shirt since it is for Chinese New Year, so I chose snaps in colors that will go with the pants I am making to complete the outfit. More on the pants soon!
I also wanted to make a note about the instructions in the book. The terms upper and lower collar were used for this pattern. Even though I’m not entirely sure of the correct terminology, it seems that the terms switched in some of the diagrams, which was quite confusing. In my video, I used inner and outer collar instead. With inner referring to the inside of the shirt and outer referring to the outside of the shirt. The interfacing for the collar should be applied on the outer collar (I think!). The other mistake I made, which I only realized later, was that I added seam allowances to my collar interfacing. The collar interfacing should be traced without seam allowances. This is to prevent bulk in the seam. Luckily the interfacing I used was quite thin, as I didn’t want a stiff collar since it was a for a toddler, and it I think it turned out quite alright.
I hope you learned from my mistakes too and make a great shirt of your own. Happy sewing!
Well, somehow I did it! I always wanted to get back to making sewing videos because it is just so much easier to explain using videos instead of words or even still pictures. I managed to clear out some table space and used a clamp instead of tripods to take the videos. However, you will notice I did not film some of the simpler sewing steps. This is because I would have needed a second clamp and make multiple adjustments to the settings everytime I moved the camera. So for the easy sewing bits like shoulder seams, side seams or serging, I did not show every single step, but I hope everything else is quite self-explanatory.
So in the last post – we traced the pattern pieces and got the fabric and interfacing cut out. Today we start sewing! So without further ado, here is the video for steps 1-3. Steps 4-8 will be covered in the next video which I am still filming and editing. I am following the steps and descriptions in the book as much as I can so that it will not be confusing for you.
Happy sewing! Let me know if you have any questions by leaving a comment below.
For those of you who want to sew along, here is a link to purchase the book on amazon (affiliate link)


