Browsing Category

Porcupine Patterns

Free Patterns Guides Ladies Sewing Patterns Porcupine Patterns Sewing Tutorials

Hacking the Ladies Qipao to a 2 piece set

January 3, 2023

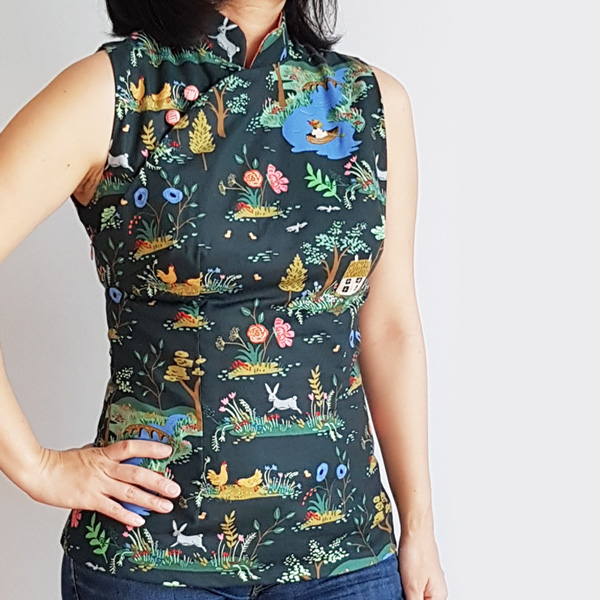
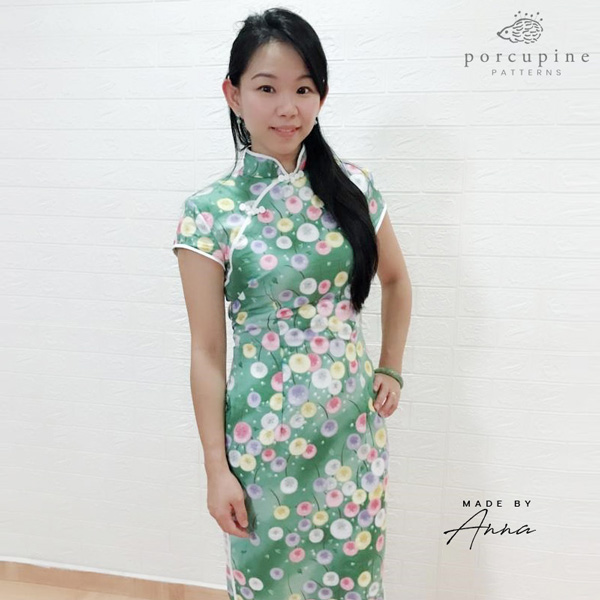
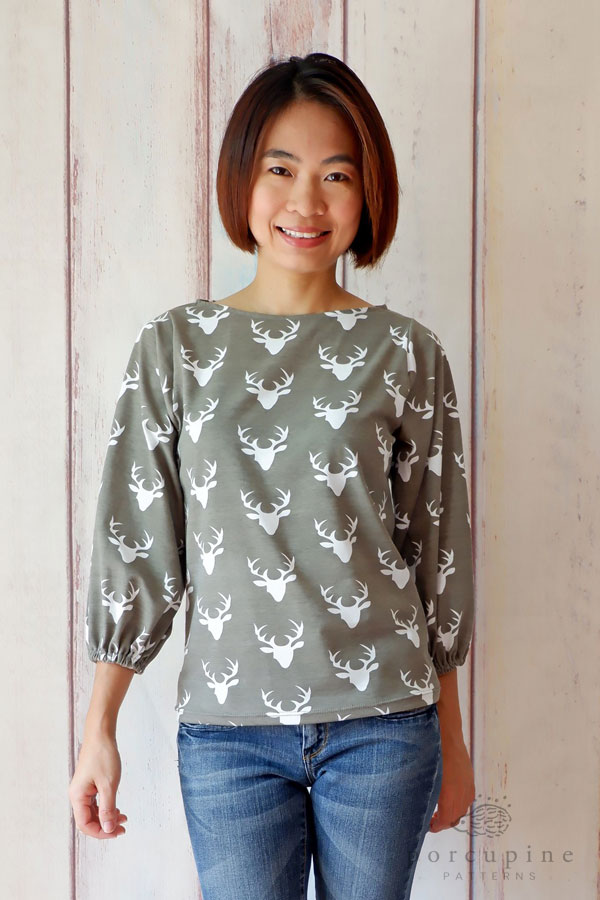
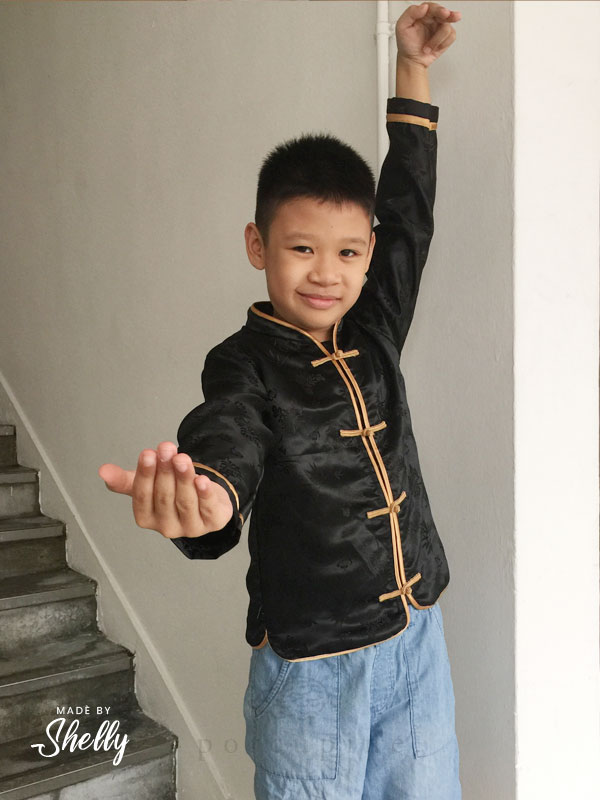
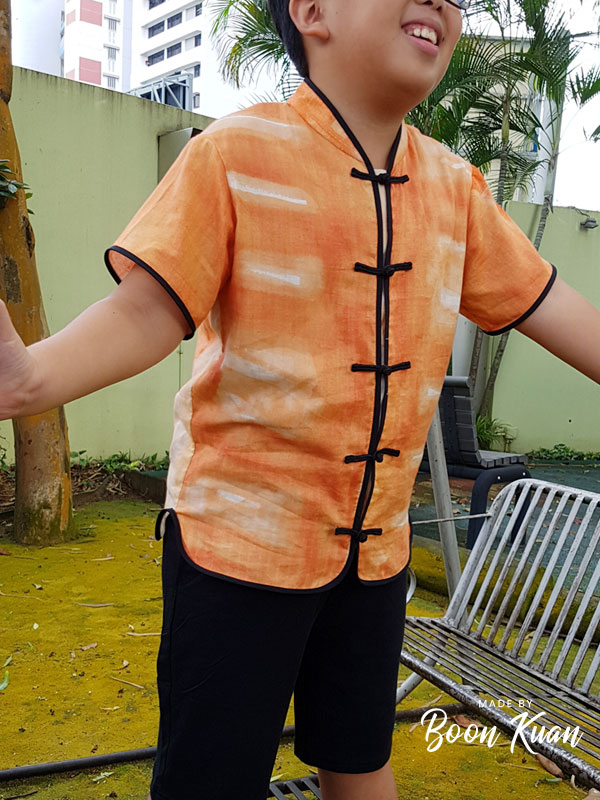
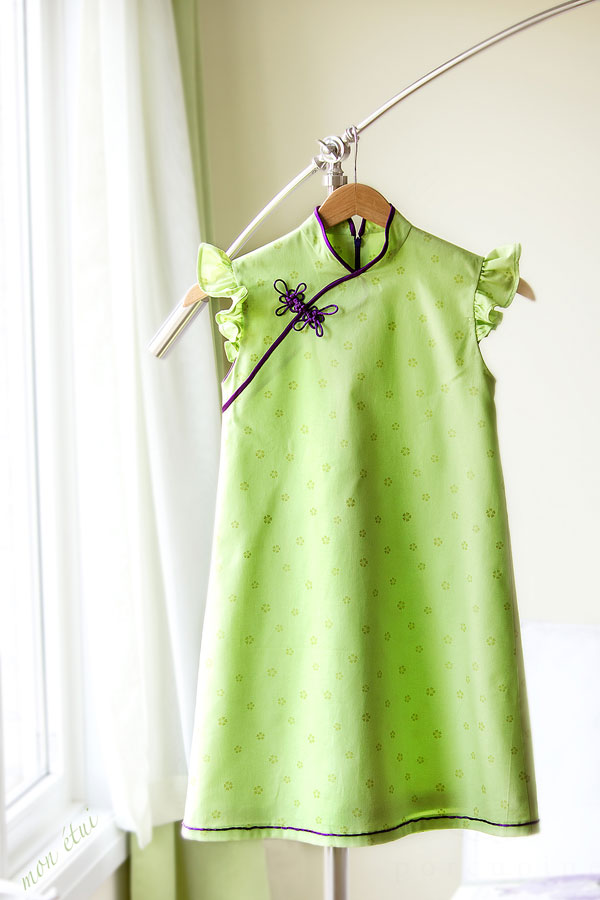
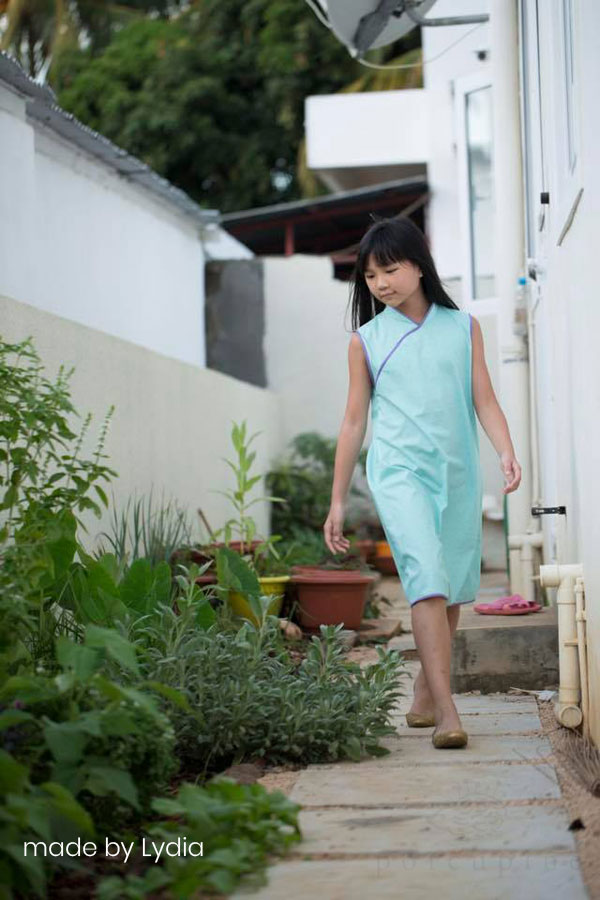
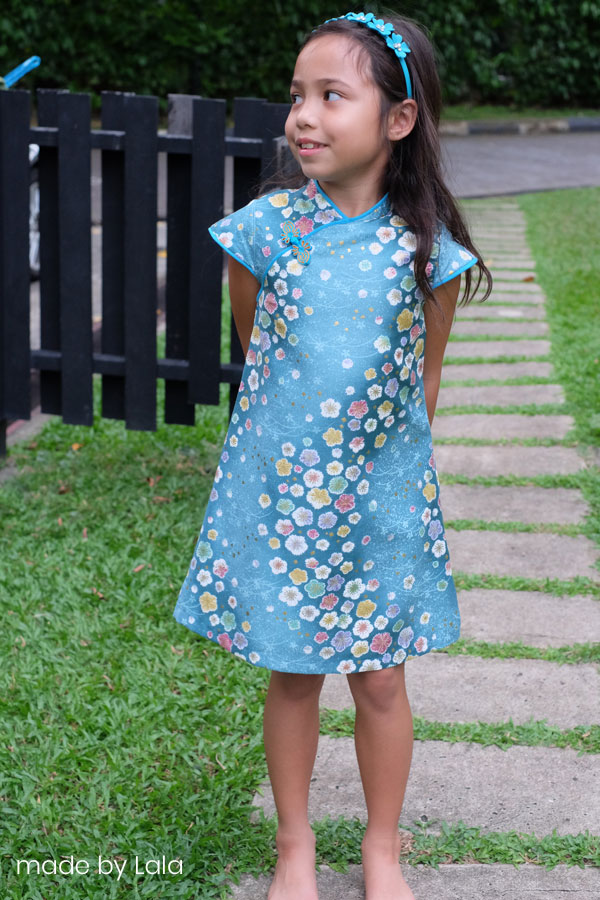
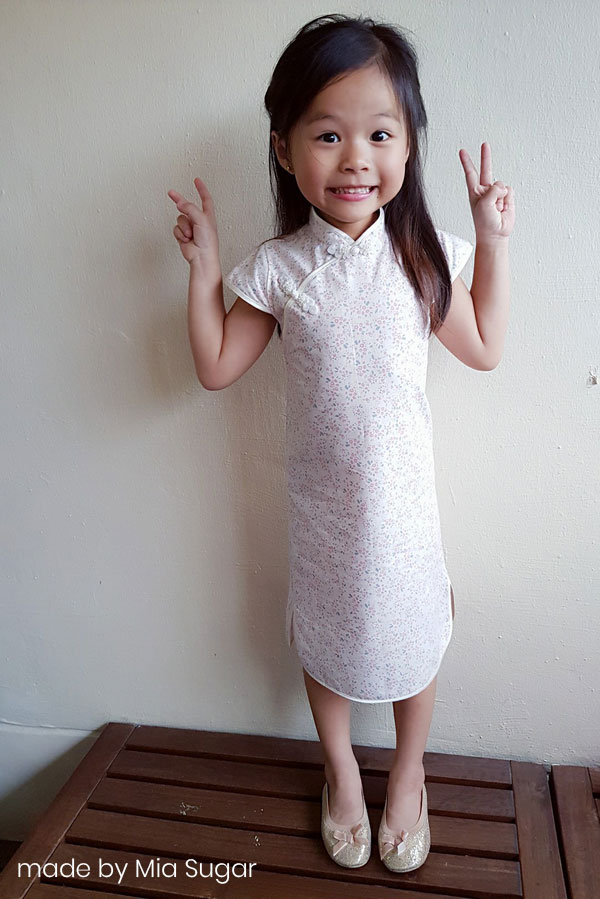
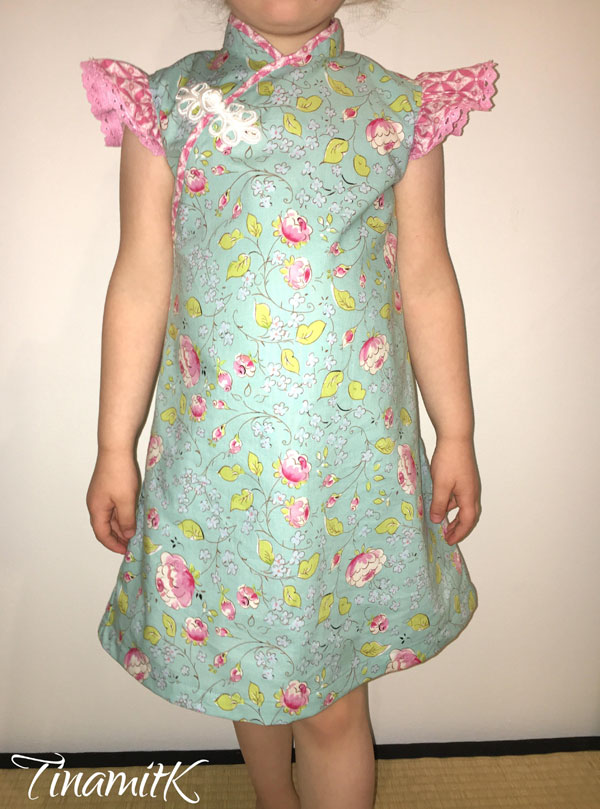
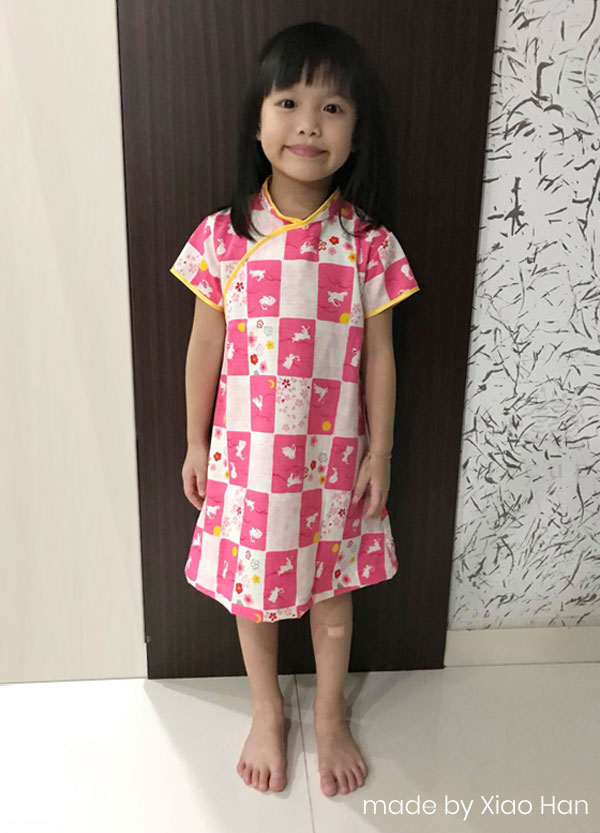
For this year, in the spirit of reducing my cluttered wardrobe with pieces that can only be worn once, I’ve decided make a more versatile and multitasking outfit, by using the same pattern, but hacked into a 2pc set. I’ll wear them both together as a two piece set on the first day of the lunar new year, and I can easily mix and match the top with jeans and the skirt with a plain tee for another day.

Changes at a glance.

Top : I reduced the collars height by 1cm for a more casual look. Made the front piece by cutting on fold from centre front. I wanted it cropped, so I only added 2cm to the waistline mark. Sewed the bust darts but omitted the waist darts for a more boxy look. Created a neck facing piece and inserted a long slit opening on the back, closed with a loop and button. More details down below!

Skirt : I had only 2m of this Mind the maker fabric bought from Sew Good Knits , so the most effective skirt I could make was a gathered skirt with a flat waistband + elastic back for easy feasting. I actually wanted to make culottes but there wasn’t enough fabric. You could follow any skirt pattern you want. I actually used the Simple Skirt from the nani IRO sewing book as a base but I made some changes to the height of the waistband.


Now for the detailed changes to the pattern pieces you will need to recreate the crop top. The pattern pieces are based off the Multisize Ladies Qipao and I will note down where each piece is taken from.

Note that some of the illustrations below were borrowed from my other patterns such as the Qipao Jumpsuit so please read the text carefully before cutting into your fabric!


  1.   COLLAR PIECE
    Adjustments to collar piece (taken off sheet G  – Lined version)

Cut out 2 mirrored pairs of collars, one set outer collar (main fabric) and one set of inner collars (could be main fabric or contrast/coordinating fabric, the choice is yours)

Now sew the collars together, right sides facing. Clip curves and trim seam allowance.

Turn collars right side out and give it a good press. Understitch the inner collars, or you can also do a decorative top stitch from the right side if you want. All up to you.


2. FRONT BODICE
Adjustments to sleeveless tight front bodice on sheet B (only need pattern up to waist line)

Armhole finishing is optional. Original pattern has no seam allowance because we used decorative bias binding. But in the hacked top I made, I used a clean finish binding (see last pic below for what I mean by that)

Next, we need a front facing piece.


3. BACK BODICE
Adjustments to sleeveless tight back bodice (up to waist line only) on sheet C

Back facing piece – this is a little trickier because I will be using a slit opening with a loop and button closure. This is to allow my head to get in and out of the neckline area.

4. PREPARING FACING PIECES.
After making the facing pattern pieces, cut one on fold for each (front and back) on main fabric and interfacing. Apply interfacing, overlock shoulder seams (I think I left this out on the diagram for the front facing) and all around the curves. Mark sewing line on back bodice as shown.

5. MAKE BUTTON LOOP
The following diagram shows you how I make a long piece (borrowed from instructions of Qipao jumpsuit which needed multiple button loops) For this hack you only need one 5cm piece. Cut a strip 2cm x 8cm long. After making the loop trim off the excess to a final length of 5cm. Trust me you will need it.

6. Baste button loop to right side of back bodice (ignore the red dash line for now)

7. Sew front and back bodices together, right sides facing.

8. Baste collars to bodice (starting from front centre)

9. Sew front and back facings together, right sides facing.

10. Align facing pieces around neckline of bodice pieces, pin and sew all around the neckline, make sure all the shoulder seams are open. Clip curves.

11. Sew along red dashed line (essentially 0.5cm from back centre line) around the end of the opening, and up the other side. Cut along the centre back line, stopping at the end of the slit opening, then carefully clip around the curved base.

12. Flip the facings around and give it a good press. Understitch the facing to the collars, top stitch 0.3cm around the slit opening, sew a button on the opposite side corresponding to the button loop.

13. Finish armholes with a clean finish. The measurements below are based on the Qipao jumpsuit pattern, but for the hack I used a 0.7cm seam allowance and a 2.5cm piece of bias of around 55cm for each armhole (you have to measure the armholes front and back to estimate how long a piece you will need)  You can also search up clean finish binding on Youtube if you are unfamiliar with the method. This was covered in the sewing tutorial for the jumpsuit pattern as well.

Ladies Sewing Patterns Porcupine Patterns

New Pattern Release – Ladies Qipao (New and improved!)

November 3, 2018

New pattern release in my Porcupine patterns store! Ok at first glance it doesn’t seem like a new release since I’ve had a free pattern for quite a while, but let me take the opportunity, since this is a blog post, to explain the differences between this and the free pattern.

The first ladies Qipao pattern I did, was simply made because I wanted to make one for myself after making so many for the kids. Those of you who do pattern drafting should know, that drafting for ladies is much more complicated than drafting for kids because of the curves involved. I looked everywhere for a pattern but found a drafting diagram from a textbook instead, and it gave very general instructions (no mention of sizing) for the construction of the Qipao. The strange thing was also that it used absolute numbers for the construction of the sloper, such as the shoulder drop, positioning of the darts etc. The rest of the measurements were based on personal measurements but mainly the bust waist and hip. At that time I just wanted to test it out, and I think by some stroke of luck and because I was quite average in size and height, it kind of worked out, although now that I look at the pictures, I can’t believe how ill-fitting it was. Lol…

So last year, when I learnt how to make a proper sloper using personal measurements, and that’s when I started offering the custom Qipao pattern at the beginning of this year.

However, the tedious process of individually exporting each set of patterns meant that it was really constrained by my “working hours” which have reduced quite a bit this year. Which is why I had to pull it off the store because I had no time to keep it as a permanent offering.

But I noticed that lots of people were still downloading the free patterns, so I thought I should use the Qipao template that I had already constructed, but fit in standard sizing data to make it work.

Then came the other problem. The sloper was constructed using more than 20 personal measurement points, many of which are not even found within one single system of measurement. So it’s Math to the rescue! I used a combination of formulae and standard data to derive all the points needed. And here is the result.

One thing you have to bear in mind – is that this is based on standard sizes, much like the ones you can find being sold in Ready-To-Wear, but with one difference. In my instructions, I will show you how to adjust the measurements to fit your size.

There are constraints though, because this is after all a fitted dress pattern so it cannot cater to every single shape and size. So, this pattern is suitable for you, if you are within this size range 0-12, and relatively proportional in size,  but upon close measurements, you find that you are always between sizes and find it hard to choose which to make.  As long as your dimensions do not span more than 2 or 3 sizes, (for example a size 6 bust and size 10 waist), then this is the pattern for you. I will show you how to grade the pattern to fit the rest of the body.

In addition to the original unlined version of the Qipao which is finished with bias, I also created a new set of instructions for a fully lined version. This was also the other challenge that I set for myself. I made a few lined versions last year, and I must say it really adds to the luxe quality of the Qipao and it really opens up  your fabric choices for the Qipao since there will be no problems with structure/ transparency. However, the method of making it was completely different and more complicated than the unlined one, so I created a sewing video to show you how it’s done. The original footage was more than 2hours long! After editing the video and speeding up the boring bits, it was still about 1hour 😛 and almost put me to sleep while watching. But having said that, the end result was exactly what I wanted. A seamless Qipao, no stitching lines visible from the outside at all, which to me was a more elegant, toned-down version of the unlined version with bias. This will be a great base pattern for an evening dress for a party of function!

Other than choosing between the Unlined and Lined version, you can choose to make this in a tight skirt style which is the standard look, or a more casual modern style which is an A-line dress. This A-line silhouette is different from the A-line style on the kids version, it is more of a fitted bodice which flares out slightly into an A-line skirt. For sleeves, you can choose from sleeveless, short or cap sleeve.

Ok enough of me rambling on, let me show you some of the pictures of the Qipaos made by me and my pattern testers!

sq_qipaotop_600

sq_candice_600

sq_jean_600

sq_kaori_600

sq_xiuling_600

sq_leelian_600

sq_jasene_600

sq_yifarn_600

sq_jessie_600

sq_anna_600

sq_ailin_600

sq_sally_600

I hope you will like this new pattern and yes I have been asked about sizes larger than 12. Look out for tester calls by joining my group Porcupine Patterns on Facebook!

To celebrate the launch, I have some launch discount codes for you!
For Ladies Qipao only. 
Use code : QIPAO20OFF
get 20% off from now till 8th November 2018.

Need to buy more than 1 pattern?

For any 2 items from the CNY range –
Ladies Qipao / Girls Qipao / Boys Mandarin Collar Shirt
Buy 2 and get 25% off each pattern.
No code needed, discount will be applied automatically at checkout.

For all 3 items – Add Ladies Qipao and the Girls and Boys bundle (https://porcupinepatterns.com/…/girls-qipao-and-boys-mandar…) to cart, and use the code QIPAOBUNDLE3 to get 25% off each pattern.

Porcupine Patterns

New Pattern Release – The Amie Top

May 22, 2018

Hi Everyone, I am hijacking my blog again 😛 to tell you about a new Pattern Release on my Porcupine Patterns PDF Pattern store 🙂

The Amie Top is a knit top pattern that comes with 3 different necklines and 8 sleeve options.  It is designed with both a slim fit or a regular easy fit which makes gives you both a fitting option as well as one that is easy to move around in! Depending on your choice of fabric, this can be a casual top or even a formal work top.  You can finish the necklines with a regular neckband in the same fabric, ribbing or a simple clean boat neckline. This pattern is for Ladies sizes 00-20 and includes a tiled PDF for home printing on A4 or Letter size paper, or A0 size patterns for printing in a copy shop.  The PDF patterns are layered which allows you to select and print only the size you want without getting confused by multiple size lines. As usual, my patterns come with full color, step by step instructions, as well as a YouTube video for your reference.

amietopthumbnail

I started drafting the Amie Top last July. It was in fact, the first pattern I wanted to launch! But I wasn’t pleased with the first round of videos I took. And then I got sidetracked by the festive period and wanted to launch the Girls Qipao and Boys Mandarin Collar shirt before the New Year was over, so this really got pushed back. I’m glad I finally pushed through and got it finished! Because this is now my favorite pattern to go to when I need a new top! I made many tops with cheaper knit during the testing period. But once I got the fit perfect, I made some with my very precious Euro knits (bought from the Sew Good Knits Facebook Group)

glamdrops2

The first (excuse the lack of ironing! :P) was a 3/4 puff sleeve with boat sleeve, relax fit and with matching cuffs. The original sleeves is finished with a casing and elastic band, but I had these cuffs for some time and I thought hey this would work! The cuffs were pretty wide so it kind of made it wrist-length. This fabric is called glam drops and is by a company called Albstoffe from Germany. The cuffs are called “Cuff me – they are super cute and come in matching colors with their fabric!  They have lots of really cute and cool designs that I would really like to get my hands on all of them! glamdrops

slimfit

The other top I made is also using Euro knits and this time in a scoop neck, half sleeves and slim fit cutting. The slim fit cut has a slight negative ease so it’s not too skin tight but still comfortable enough to move around.

Want to see more? Get inspired by the photos taken by my testers for the Amie Top!

Xiuling_ruched

Scoop neck with ruched sleeves made by Ye Xiuling.
Follow her on IG –Yellowdamselflysews

celine_ruched

Boat neck with Ruched sleeves made by Celine Khoo.
Follow her on IG – cookiekhoo

anasofia_boathalf

Boat neck with half sleeves – made by Ana Sofia
Follow her on IG – sisforsewing

anasofia_smallbutterfly

Boat neck with small butterfly sleeves – made by Ana Sofia
Follow her on IG – sisforsewing

fany_smallbutterfly

Boat neck with small butterfly sleeves – made by Fany
Follow her on IG – sewmanyfabrics

2_yinying_largebutterfly

Boat neck with large butterfly sleeves – made by Yin Ying
Follow her on IG – LeeYinYing

anna_largebutterfly

Scoop neck with large butterfly sleeves – made by Anna Tan
Follow her on IG – anna87lucas

12_Larissa_largebutterfly

Scoop neck with large butterfly sleeves -made by Larissa Sim
Follow her on IG – larissasjy 

Anna_fitandflare

Scoop neck with Fit and Flare sleeves – made by Anna Tan
Follow her on IG – anna87lucas

yinying_puff

Boat neck with 3/4 Puff Sleeves – made by Yin Ying
Follow her on IG – LeeYinYing

boonkuan_short

Boat Neck with Short Sleeves made by Lim Boon Kuan
Follow her on IG – limbksews

karinalongsleeves

Scoop neck with long sleeves – made by Karina
Follow her on IG – liftingpinsandneedles

jaclynllongsleeves
Scoop neck with long sleeves – made by Jaclyn Thang
Follow her on IG – jaclynthang

julie

Boat neck with small butterfly sleeves – made by Julieanna

In conjunction with the pattern launch, there will be a launch offer of 20% off the original price of SGD$10. Offer valid for 1 week from now till 29th May 2018. Use the code AMIE20OFF at checkout to claim this offer. I hope you like it!

Boys Sewing Patterns Kids Sewing Patterns Porcupine Patterns

Boys Mandarin Collar Shirt

January 9, 2018

Today I am launching a new pattern for Boys – A Mandarin Collar Shirt which is a matching piece with the Girls Qipao.

I made the first version of this Boys Mandarin Collar Shirt two years ago, when I was trying to come up with something festive for my 1 year old. I made a top with the same fabric for my oldest girl, and I had some fabric left, so I mixed and matched with some bias and co-ordinating fabric and the result was pretty cute! I then posted it on Instagram and then people started asking me where they could get the pattern. I hadn’t even jotted down the steps! I promised some of my readers I would release the pattern in time for Chinese New Year last year, but you know, having a toddler in the house just throws all your timing off. Fast forward 2 years later, I finally got round to doing it. 🙂 Luckily I still had the original shirt, but I actually had to scrutinize the original shirt to remind myself how I made it. 

So here it is! A boys Mandarin Collar shirt which is festive looking if you do the full works of contrast cuffs and collars, but can also be toned down to a single palette for a more subtle/sophisticated look.

This pattern is for Boys sizes 2-12 years, and includes A4/Letter size tiled PDF for home printing, as well as a convenient A0 size pattern for printing in a copy shop if you hate to piece patterns.

boysmandarincollarshirt
Boys Mandarin Collar Shirt
This pattern is now available at my PDF sewing pattern online shop – Porcupine Patterns.com. Here is the size chart for your reference.

boyssizechart

Here are some photos of the shirts made by my testers for your inspiration. Enjoy!

blog_celine

blog_michele

blog_jeanette

blog_kiran

blog_amanda

blog_fiona

blog_lydia

blog_jocelyn

blog_shelly

blog_ivy1

blog_boonkuan


Specials

For 2 days only, there will be a special launch price of 20% off the pattern.
Key in LAUNCH20OFF at checkout to make use of this special offer!

For Customers who have already bought the Girls Qipao, you will get a special discount for the first two days as well. You will get 30% off the price – key in GQP30OFF to claim this offer!
Note : This discount requires you to have purchased the Girls Qipao pattern previously. The shopping cart will detect your eligibility for this offer. If you have and are unable to use this code, please email me at porcupinepatterns@gmail.com.

Last but not least, those of you who have not purchased any patterns, but would like to buy both the Girls and Boys pattern as a bundle, I have created a separate listing for you.

girlsqpboysmcsbundle

This amounts to 50% off the second pattern! This will be a permanent bundle price item in my store.

Click here for more information


Porcupine Patterns

Launch of Porcupine Patterns – Girls Qipao Pattern sizes 2-12

December 21, 2017

So it’s been 3 years since I first created my free qipao patterns for girls, first published in January 2014. It’s been downloaded so many times I’ve lost count, hehe partially because when I first uploaded it I didn’t know how to set up a download app to track the downloads.

One thing I have heard very frequently from my readers, is the repeated request for more sizes. The free pattern only came in 4 sizes, I can’t even remember why I picked those 4 sizes. For sure, 2 of them were picked because I had to make them in my daughters’ sizes. At that time I was drawing every single pattern from scratch and it was painfully slow. Until last year where I discovered patternmaking software and learned how to use it

I don’t know if I told this story before, but it’s kind of funny how this qipao pattern even came about. The first time I made this dress (attempted to make actually) was about 10 years ago when I first started sewing and when my eldest was 3. I was inspired by some of the modern hacks to the traditional Qipaos that some designers did for adults. At that time, when Chinese new year came around, all the stores will be decked with these cheap polyester brocade varieties in multi colors, scratchy insides, hot collars and I didn’t want any of that. So I bought some plain red fabric, and I thought hey it was easy, I’ll just slash the front and add some seam allowance and binding. I don’t think I even knew how to make a collar then. But anyway, the funniest point of this story is, I thought the flap opening was enough for the kid to get in and out of. So I sewed the sides down (was really trying to avoid zippers) and just used buttons for the flap. It was quite pretty, except for one thing. She couldn’t get in and out of it! Well, with much struggle she did. I had to wiggle her in, and wiggle her out. So dress fail.

I only got around to making it again in 2014, because this time I have 2 girls to sew for and I couldn’t find a ready made pattern anywhere. So this time I made drafted it on the computer, added a side zip. I actually referred to an actual Qipao that my husband bought (mummy + daughter set) from Shenzhen. I think he was hinting at me to stop trying… heh….  but thanks to his purchase, I finally figured out how to attach the side zip and the rest is history.

Every year end, people start planning their Chinese New Year makes, and then I get some queries again on adding sleeves, how to do the back zip opening that I mentioned casually in one of my posts on my own hacks. When will I add more sizes etc.

So this year, I decided to actually get around to doing something that I’ve been wanting to do for a long time. Create a full range of sizes for the Girls Qipao and also to launch my own PDF pattern store! In fact, I was working on two other patterns while I got reminded by one of my readers that Chinese new year sewing season is coming up, and please do I have a pattern with sleeves for it was cold where she came from. So just like that, I paused work on the other two patterns, and went into this full steam as I didn’t want to miss the sewing frenzy. It’s quite exciting every year to see the makes on my timeline, from people in the local sewing community. I actually documented some of these makes early this year. I hope to see more once I launch this pattern.

So here’s a bit about my new pattern and my new store.

girlsqipaoThe Girls Qipao pattern comes in 11 sizes. Sizes 2-12. There are 3 variations you can make – Straight, A-line or bodice+skirt. There is the original sleeveless, plus 4 sleeve variations. Short / Long / Cap / Frill. The PDF patterns can be instantly downloaded after purchase and printed at home immediately on A4 or Letter size paper. (I had a number of people emailing me about not being able to print on Letter size paper but this is now possible on my new pattern). You can also bring them to the copy shop to print A0 size if you hate paper piecing!

The 37 page instructions booklet comes with step by step photos, and also links to sewing videos on my YouTube channel. I even created a new video to detail the back opening style because the process for making this is different from the side zip opening style.

collection-girls

This was the first Qipao I made using my own pattern. It is an A-line dress which makes it much easier for the active little ones, you can see many of the testers chose this style because it is so much less restrictive than the traditional straight style. The frill sleeves are also super cute on the little ones!

Without further ado, let’s look at some of the amazing Qipaos created by my tester group!

GirlsQipao_Adriana

GirlsQipao_Brenda

GirlsQipao_Chloe

GirlsQipao_ChoonYee
GirlsQipao_Ivelina

made by Ivelina
(She had already watermarked her photo and I didn’t want to destroy it by adding one more to the beautiful composition 🙂

GirlsQipao_Jeanette

GirlsQipao_Celine

GirlsQipao_Kate

GirlsQipao_Kayley
GirlsQipao_Lydia

GirlsQipao_Lala

GirlsQipao_KitMei

GirlsQipao_Mia

GirlsQipao_Nikola

GirlsQipao_Peiru

GirlsQipao_TinamitK

GirlsQipao_XiaoHan

Amazing what they could do, most of them in one week! You can do it too!  Here’s the link to the new Girls Qipao pattern on my pattern shop Porcupine Patterns

A little bit more about my new pattern shop. Porcupine Patterns. Why Porcupine Patterns? Well, I was looking for a cute name that uses alliteration. My daughter once drew a really cute porcupine so I made her design one for my logo, and added pins to its back like a pin cushion. Cute eh?
porcupinepatternslogoHR

Other than the Girls Qipao, I will be moving all the free pattern downloads on my site to this store so that it will be easier for me to track the number of downloads. I know many of you had issues with the download app I am using, because the links expire after a while. With the new shopify downloads the links will not expire, but there is a download limit of 3 times, so do keep your downloaded files safely.

I will be creating a new Facebook group for this Pattern store at https://www.facebook.com/PorcupinePatterns/ where you can be informed of latest pattern launches, GIVEAWAYS, promotions, sales, tester calls, and even share your makes. You can also ask for sewing assistance from other members or myself. If you join this Facebook group, you will get a 10% discount code.

I will still be blogging here on Japanese sewing books. I may use this blog or my FB page to announce of new patterns when it happens but it will still be focused on Japanese sewing books and fabrics, not to worry!

SPECIAL ANNOUNCEMENT

ONE DAY ONLY! As today (21st Dec) is the Launch day of my store, I would like to offer all my Japanese sewing book readers a special 20% discount for supporting me the past 6 years. Please enter JSB20 to code at checkout to claim the discount.

Thank you for bearing with me with such a long post! Wishing all of you a very Blessed Christmas and a Happy New Year. Happy Holidays everyone!