Browsing Category

Japanese Sewing Books in English

Japanese Sewing Books in English

Book Review – Japanese Patchwork Quilting Patterns (English)

April 6, 2019

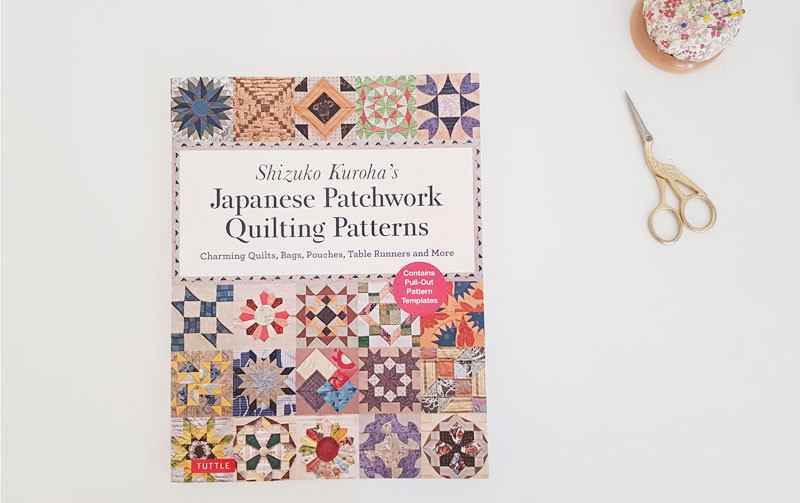
You know, sewing garments generates a lot of fabric scraps, and I have this box full of lovely fabric scraps that I’ve been reluctant to throw away. I always think to myself that one day, when I have the time, I will make a quilt out of all my scraps. Never mind the fact that I don’t actually know much about patchwork or quilting, till Tuttle sent me this book – Shizuko Kuroha’s Japanese Patchwork Quilting Patterns. I learned so much just by reading through it, that I think I will really have to try it out soon!

Continue Reading

Book Flip Through Videos Book Reviews Japanese Sewing Books in English

Book Review and Book Flip Through Video – Stylish Wraps by Yoshiko Tsukiori

July 2, 2017

I received this in the mail from our friends at Tuttle Publishing last week, and couldn’t wait to share it with you! This is the latest book to be translated to English from Yoshiko Tsukiori that is full of patterns for ponchos, capes, coats, jackets, all the stylish ways you can keep yourself warm. You may think it’s strange to release a book about cold weather wear right in Summer, but given the time you might take to buy the book, look for the right fabric, and actually get started on sewing, it is just about right.

I have prepared a flip-through book video at the end of this review where you can look at all the designs contained in the book, so I will just share some of my favourite pieces here.

stylishwraps

I just love the cover of this book. Despite the 34C temperature here, I actually feel cold thanks to the tones of the photograph and how snug she looks in that grey wrap.

E_drapevest

This is a drape vest, it comes in a drape jacket version too (with sleeves) but I thought this was a much better pictures. I love the draping and how being a vest it can actually be used more frequently as than a proper jacket. I also looks like a quick and easy sew.

G_cape

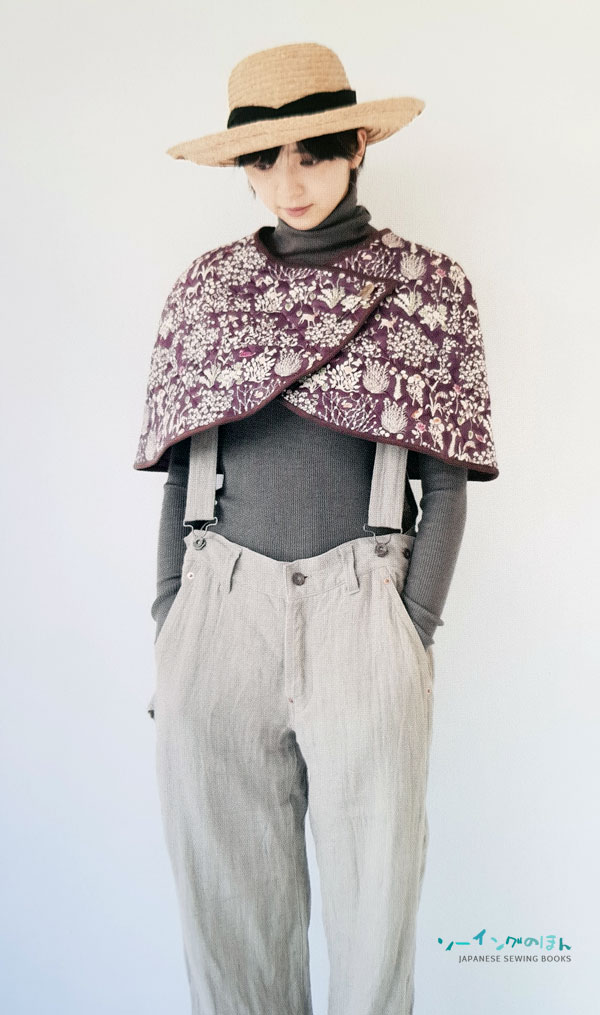
There are full length proper, really warm looking quilted jackets in the book as well, but I like this wrap which uses quilted fabric. Another really easy cut and finish edges, add snaps pattern. I love quilted fabric but find that using them full blown on a jacket makes one look rather like a walking blanket. This is much cuter!

J_fauxfurwrap

A stylish wrap in faux fur of course! If you have never sewn with faux fur before, there is a two page guide in the book with step by step photos teaching you how to do it.

0_wrapjacket

I love the casual look on this one, layered over a dress or even a defined pant suit, I think this falls in the category of refined casual wear. Might be easy to go sloppy on this one so I think accessories are very important when co-ordinating with this wrap jacket.

P_Bolero

A more feminine style bolero with tie ribbons in the front. Probably more suited for warmer days due to the length. This can be done in a light and sheer fabric as well to carry off the gathers and frills.

V_jacket

A wing-collared jacket made in tweed fabric and fringed edges.

Now for the technicalities. This book includes patterns for Japanese sizes 7 – 13. The measurements are given primarily in inches, and cm equivalents in brackets.

sizechart

A typical pattern how-to-make page. I just noticed that there are some bonus knitting patterns included. For e.g. the yellow beret worn together with the drape vest above, as well as the mittens on the cover of the book. There are also knitting instructions for leg warmers, headband and other accessories shown with the main garments.

howtomakesample

The diagrams below are from a sample of the instructions.

sampleinstructions

My favourite feature in Tuttle’s pattern books. The pattern envelope for storing pattern sheets. There are 2 x 2-sided pattern sheets. I often get emails asking about missing pattern pieces. Sometimes it is because they are scattered over different sheets. Sometimes, you need to read the instructions and draft the pieces yourself (usually the rectangular pieces that only require length and width dimensions like binding / cuffs etc)

patterns

backcover

I love making these book flip-through videos because it makes it so easy for me to show you what’s in the book compared to taking 2 dozen photographs. I hope you enjoy watching them too! Do subscribe to my YouTube channel Japanese Sewing Books to be updated when new videos have been uploaded.

Here’s the flip through video. Enjoy!

The book will only be available on Amazon.com from 1st August but it’s available for pre-order now!

Title : Stylish Wraps Sewing Book
Author : Yoshiko Tsukiori
ISBN No. : 978-0804846950

Or if you can’t wait till August, here’s a giveaway for you! Up for grabs is a copy of Stylish Wraps by Yoshiko Tsukiori. There will be 4 copies to be given away in all, one on each of the following channels –
my blog / YouTube / Facebook page / Instagram

4stylishwraps_600

All you have to do is comment below and tell us your favourite book from Yoshiko Tsukiori. Need a list of books? Check out my book reviews of her English books here. One comment per email please. Extra entries from duplicate emails will not be counted.

For extra chances,

  1. Like my Facebook page and comment on the giveaway post.
  2. Follow me on Instagram, like the giveaway post and Tag at least 3 friends to win. One tag per comment. The more friends you tag, the more chances you have of winning!
  3. Subscribe to my YouTube channel and comment below the video for Book Flip Through Video for Stylish Wraps
  4. Follow Tuttle on the following social media channels
    Facebook – https://www.facebook.com/TuttleBooks/
    Twitter – https://twitter.com/TuttleBooks
    Pinterest – https://www.pinterest.com/tuttlebooks/
    Instagram – https://www.instagram.com/tuttlepublishing/

This giveaway will run for a week and end Monday 10th July at 0900hrs Singapore Time. The winner will be announced the day after on the respective channels.

Good luck!

ETA : The giveaway is now closed.

Unfortunately, the first winner did not get back to me so I had to redraw a new winner. And the new winner is Norah Ho! Congratulations Norah, please check your inbox for an email from me! 🙂

Book Reviews Japanese Sewing Books in English

Book Review – 501 Enchanting Embroidery Designs

February 24, 2017

Today I am going to review another Japanese Sewing Book that has been translated to English. And this time round, it’s not a machine sewing book but a hand sewing one. I’ve had a number of queries about embroidery books so this one is for those of you who have asked me about them! There are lots of embroidery design books out there of course, but this one was recently published by Tuttle and was released last year. When I received it from Tuttle I couldn’t stop drooling over all the cuteness! But I didn’t have time to do any book reviews till now and I kind of forgot about it till my daughter who started doing Home Economics this year, needed to do some embroidery as a class assignment. This was a great reference for her!
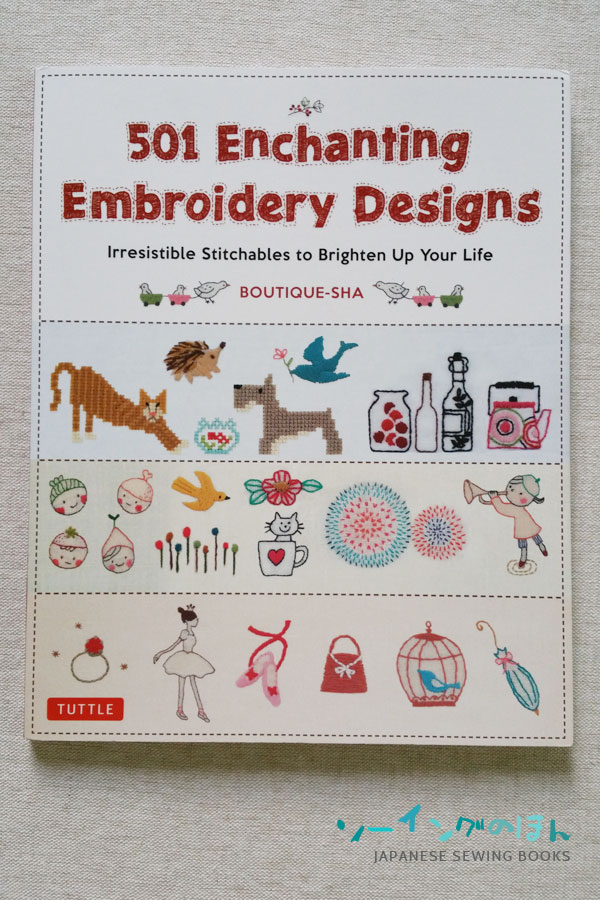
501EnchantingEmbroideryDesigns

The book is called 501 Enchanting Embroidery Designs, which basically tells you how many stitch designs and inspirations you will get out of this book. This book does not only include embroidery, but also some cross stitch patterns, as well as some ideas + instructions on how to apply these embroidery/cross stitch patterns on your everyday objects. If you have never embroidered before, no worries, for there are detailed instructions of what you need + all the techniques and stitches you need to know for the patterns in the book.


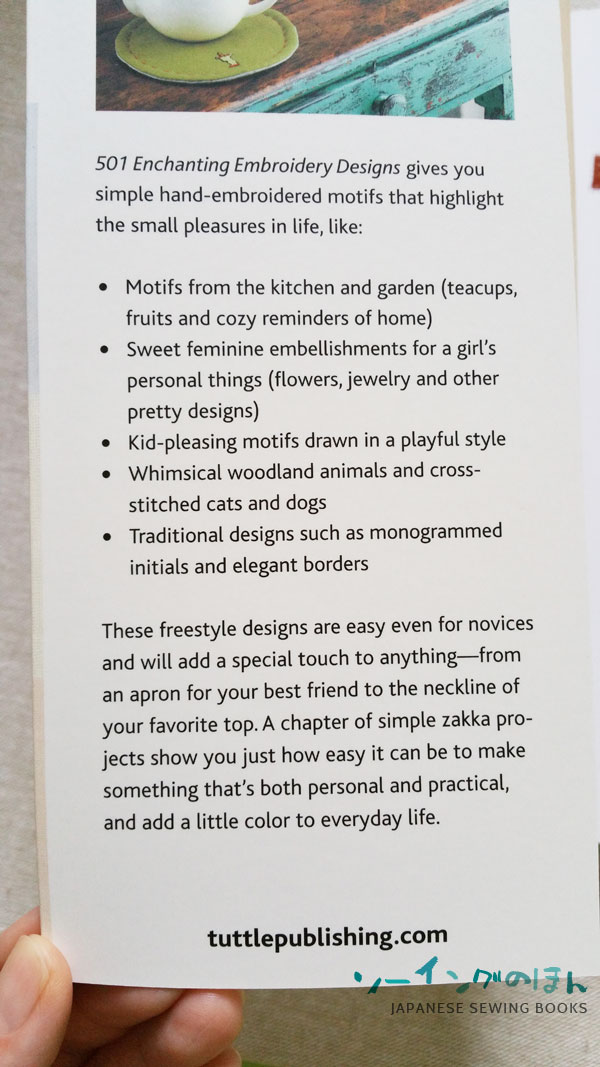
bookflap

contents

A quick glance of the contents page. You can see that there are many project ideas plus instructional pages. So even if the designs may look complicated or daunting to you, it is suitable for beginners as well.

Here are some of my favourite designs.


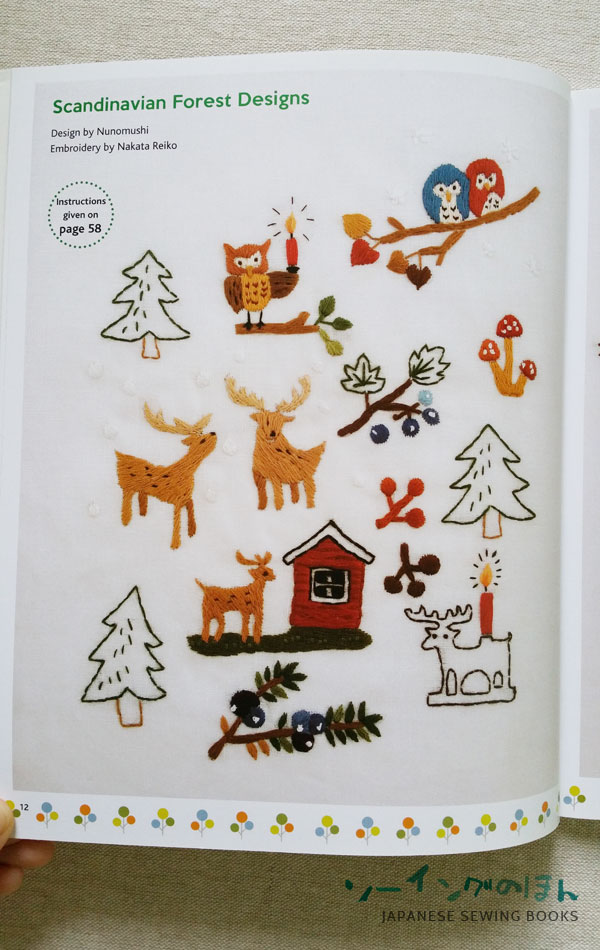
scandinavianforest

There is a whole section devoted to Little Scandinavian Sketches, I love the whimsical deers and owls in this one. If you need to make your own DIY Christmas presents, this will be perfect for embellishing a Christmas gift!

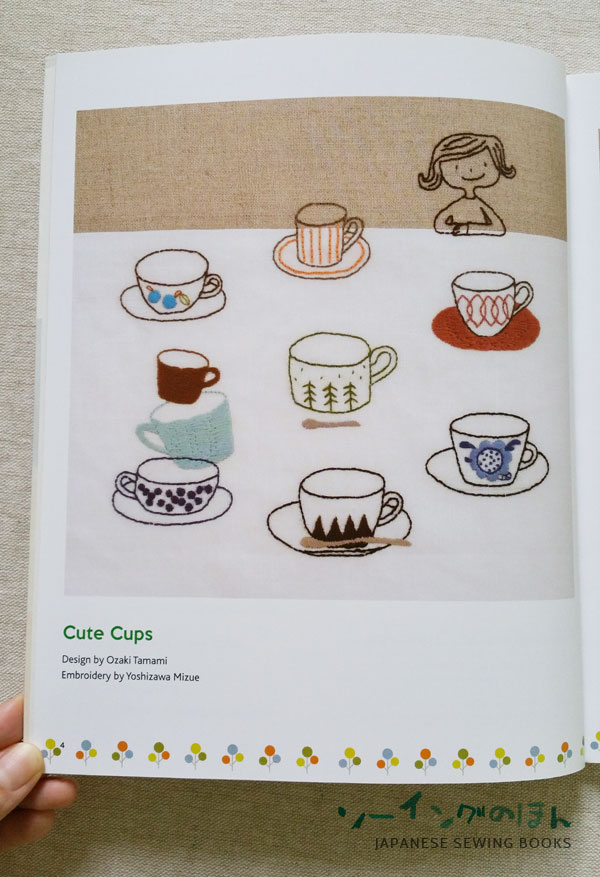
cutecups

Cute coffee cups, great for embroidering on kitchen towels, napkins. A coffee lover will love this.

music

This series of musicians sketches is just too cute not to share. Great for a music lesson bag. Or an instrument cover.

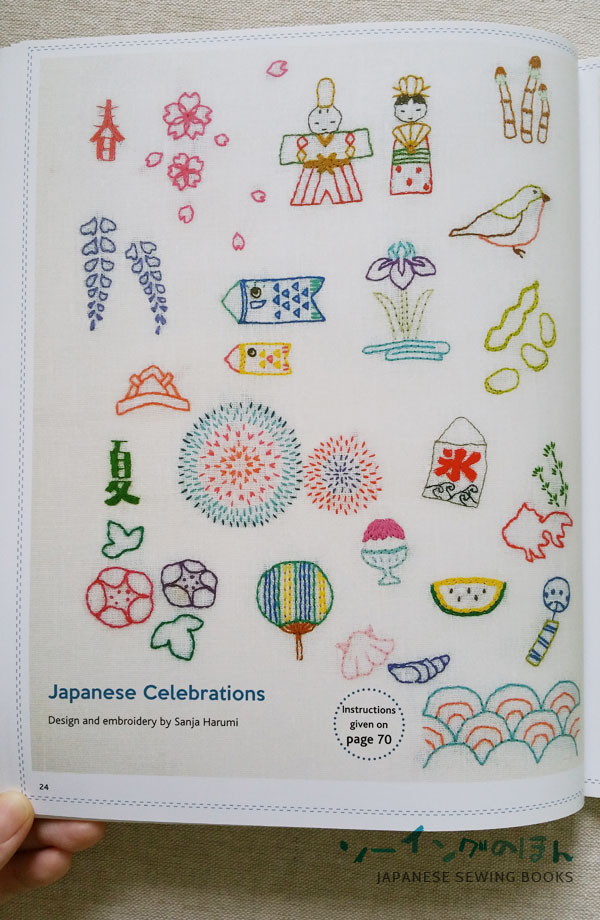
japanesecelebrations

These Japanese Celebrations themed designs are also adorable. They are divided into the four seasons, and on this page you can see the Spring and Summer related embroidery designs. I just love the fireworks pattern! The color combination and the tiny fine stitches.

embroideredlace

These are the lace patterns mentioned in the Contents page. But of course it is really just embroidery. If you have a dark fabric you need to embellish, it will be hard to make a color design stand out. But just change it to all white/off white thread and the results are stunning. These will be great for making your own monogram handkerchiefs / napkins or embellishing a border with a lace design. A lot of work yes, but isn’t it beautiful?

crossstitchpets

There are also some cross stitch patterns, including the entire alphabet which will be great for your child to start learning how to cross stitch and maybe sew a sampler like the children of the olden days 😛 I remember poring through my Mum’s Ondori Cross stitch books looking for new patterns to make. I still have one of my cross stitch works in my store room and I have to thank her Japanese sewing books collection for getting me started on cross stitch and sewing!

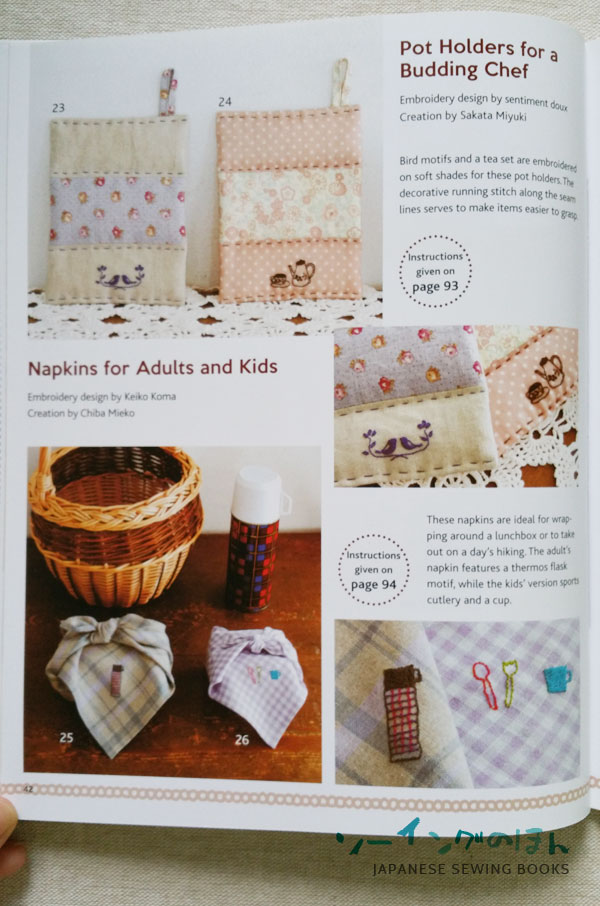
napkins

Some of the sample projects in the book of how you can apply embroidery designs to everyday objects.

crossstitchprojects

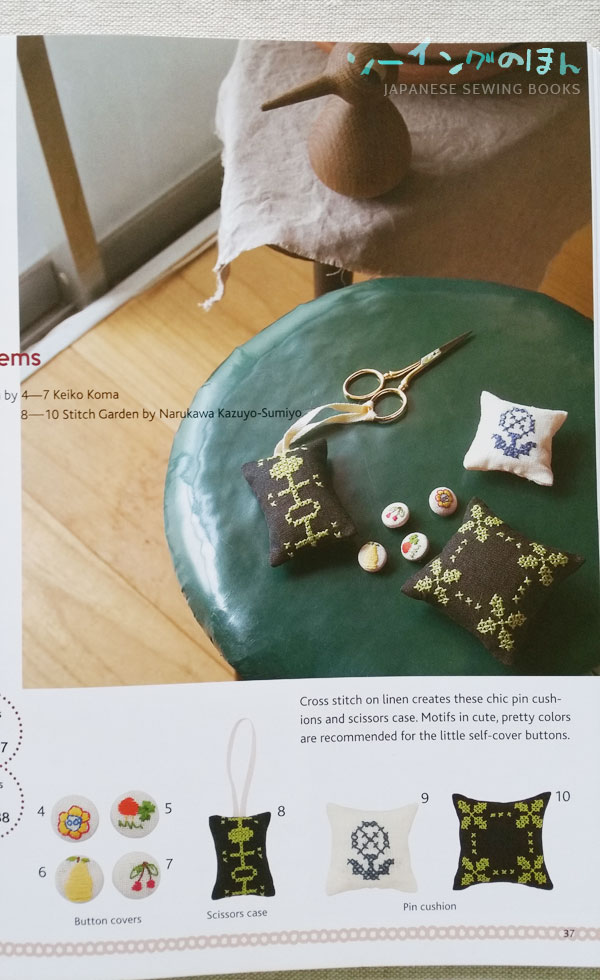
Little cross stitch gift ideas. The covered buttons are so cheery, imagine a series of them, all in different designs, on the same dress or blouse. Such a great idea!

embroiderytechniques

For beginners, there are detailed instructions and list of equipment you need to get started. 

samplesewinginstructions
Here’s a close up sample of the instructions for the sewing projects.

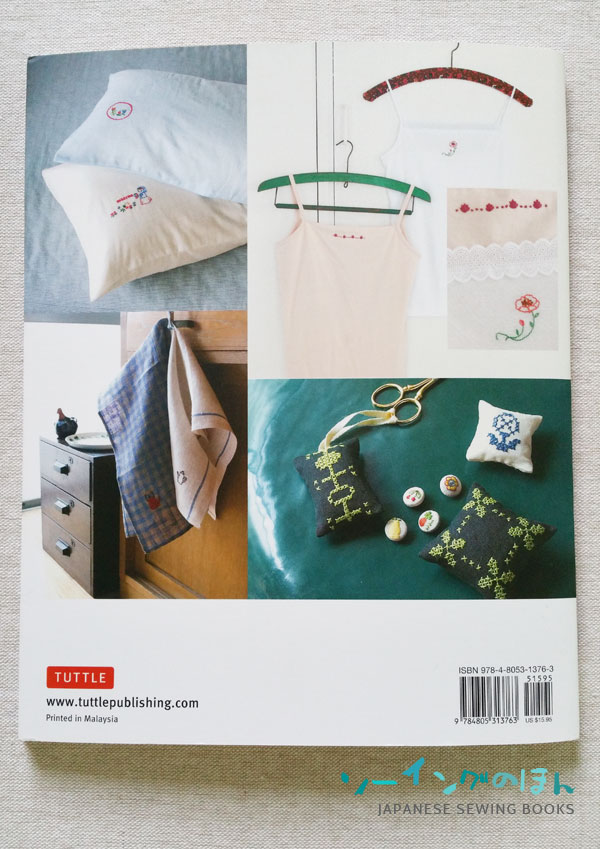
backcover

You may notice that I have included less photos of the book this time round, that’s because I’m going to incorporate book flip-through reviews for every book review from now on.  You can also subscribe to my Channel on Youtube to keep updated of any new videos. Happy browsing!

To buy a copy of this book, you can click on the link below which leads to Amazon.com (affiliate link)

buynowbutton

Boys Sewing Patterns Japanese Sewing Books in English Kids Sewing Patterns Sewing Videos

Sew-Along for Boy’s Stand-Up Collar Shirt Day 3

January 11, 2017

Day 3 and final day of the sew along. If you haven’t , go to the first post here.

The book we are sewing from is

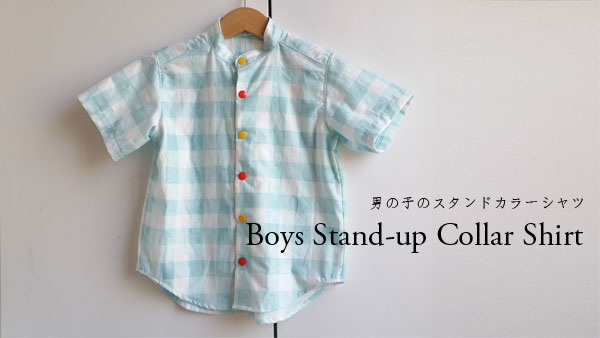
boysstandupcollarshirt

In the previous post, I covered steps 1-3. In the following video, you will see the rest of the steps – 4-8.  Even if you don’t have time to sew it now, bookmark this page and you can follow along any time you want.

You will noticed that I used snap buttons instead of buttonholes and buttons as stated in the pattern. But this is for a good reason. I needed to add some color to the shirt since it is for Chinese New Year, so I chose snaps in colors that will go with the pants I am making to complete the outfit. More on the pants soon!

I also wanted to make a note about the instructions in the book. The terms upper and lower collar were used for this pattern. Even though I’m not entirely sure of the correct terminology, it seems that the terms switched in some of the diagrams, which was quite confusing. In my video, I used inner and outer collar instead. With inner referring to the inside of the shirt and outer referring to the outside of the shirt. The interfacing for the collar should be applied on the outer collar (I think!). The other mistake I made, which I only realized later, was that I added seam allowances to my collar interfacing. The collar interfacing should be traced without seam allowances. This is to prevent bulk in the seam. Luckily the interfacing I used was quite thin, as I didn’t want a stiff collar since it was a for a toddler, and it I think it turned out quite alright.

I hope you learned from my mistakes too and make a great shirt of your own. Happy sewing!

Japanese Sewing Books in English Sew-along Sewing Videos

Sew Along for Boys Stand-UP Collar Shirt – Day 1

January 6, 2017

Happy New Year! I hope you all had a good break over the Christmas and holiday period. I know I haven’t posted much since last December but I was kind of burned out after the holiday. Somehow things move along a lot slower too when the kids are around during the school holidays. It’s like nothing gets done but so much needs to be done. After the mad rush of getting everything ready for them to go back to school, it’s finally time to sit down and think about what to do next!

I originally planned to write up a New resolutions post about how I am going to schedule my blog posts properly, and yes even bring back the translations requests section but then I suddenly realize that I have to start sewing for Chinese New Year which is 23 days away! Gulp…. I have to sew (at least) 2 cheongsams for my daughters, including drafting new patterns since they have grown so much since last year. And I have to sew for my little boy too! So due to the tight timeline, I have to jump right in and the first one I will tackle will be from this book.
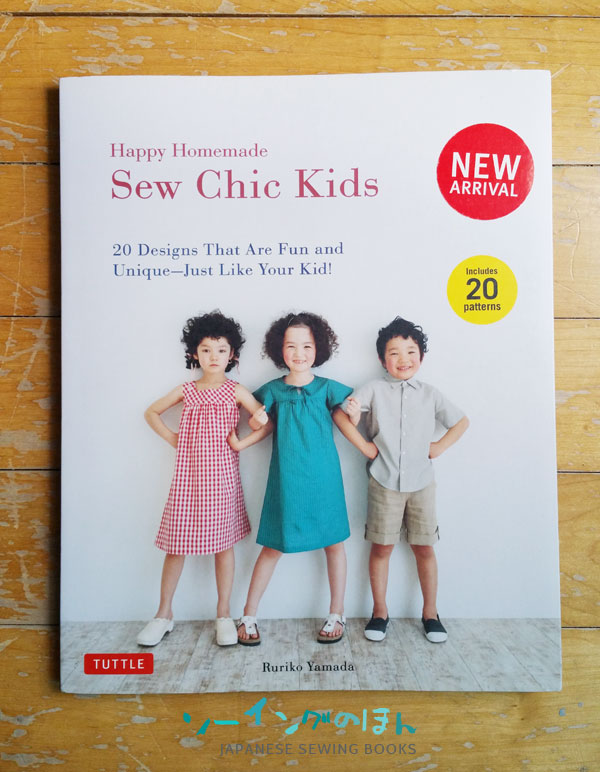
sewchickidscover

I have posted the full book review some time ago, so you can look at the rest of the projects here if you have not purchased the book yet. This book is translated into English so no worries about following along!

boysstandupcollarshirt

I will be making the above Boy’s Stand-up Collar Shirt in Size 2. I will be taking pictures as I go along, I’m not sure if I have space/time to setup my video equipment, since having a 2 year old around means no tripods stay upright for long. What am I talking about, he doesn’t even let me out of his sight. It is 6+ in the morning here which is why I can even type this out. Anyway, I’ll probably be taking pictures, so if you can, sew-along with me! I will be splitting up this project into a few separate posts, and the length of each post will literally depend on how much I get done each day.

So the first thing you have to do, as you can see on the bottom of the right hand page below, is to flip to pg 57. See below.

instructions

You will notice the instructions are rather scant. And you may wonder where the rest of the diagrams are? Why does it jump straight to number 6? The actual steps to follow are in the order given in the top right hand diagram. but notice the little footnote near number 7? It says to follow the steps in project “t” which is on pages 62-63, which is a normal collared shirt, with the exception of step 6 which is the making of the stand up collar.

I guess this is a good way of saving paper, since there is really no point printing repeated instructions. But I do wish that was written right under the materials list, and in a larger font. ;P
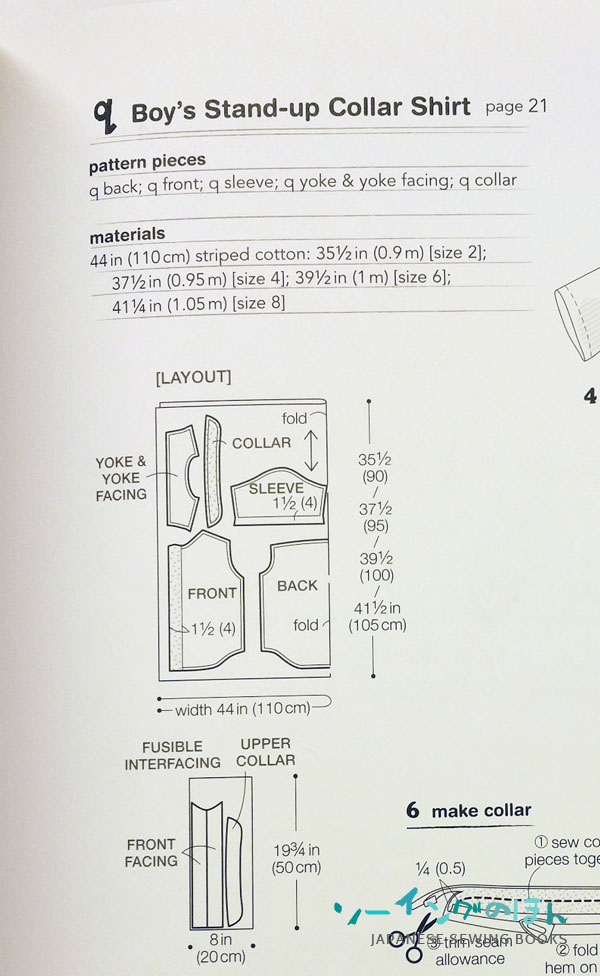
howtomake1

Anyway, gripes aside, and it wasn’t too hard to figure that out anyway, let’s move along and look at the pattern pieces and materials.

For materials, the length you will need is based on standard 110cm wide fabric. The lengths are listed in order of sizes. So for Size 2, I will need 35 1/2″ or 0.9m of fabric.

For pattern pieces, you will need to look for the pieces labelled “q” and you will need 5 pattern pieces (yoke and facing are the same pattern piece)

patternsheets

The pattern pieces are spread out over 3 different pattern sheets. I can only show you two since the are printed on double side, so I am just showing you how I located the pieces on sheet 1 and 3.

Pattern sheet 1 – Q – yoke and yoke facing (shown above)
Pattern sheet 2 – Q – sleeve  (on reverse side of sheet 1)
Pattern sheet 3 – Q – back, collar (shown above)
Pattern sheet 4 – Q –  front  (on reverse side of sheet 3)

Now trace your patterns out, remember that there are no seam allowances, so you have to add them on after tracing.

To know how much seam allowance to add, refer to the Layout diagram.

howtomake1

For example, the pattern labelled SLEEVE has a double line around it, and at the bottom edge of the sleeve it says 1 1/2 (4)

This means, that there is a 3/8″ or 1cm seam allowance all around, except for the bottom edge where you should add on 1 1/2″ or 4cm of seam allowance.

For other pieces where there are no numbers and just a double line, it just means add on 3/8″ or 1cm seam allowance by default. Here are examples of two of the pieces with added seam allowances.

collarandyoke

With the pattern pieces cut out, you can now cut them out of fabric. You can mix and match coordinating fabrics for the yoke / yoke facing, inner and outer collars, etc. Go ahead and be creative!

patternpieces

Here are my pattern pieces laid out on my fabric. I am using Sarah Jane’s Painted Gingham in blue. Note that I will have to cut two of the collar and two of the yoke pieces. Also, my layout is a little different from the one in the book. That is because the collar and yoke pieces have to be cut on fold, and furthermore the design in the book was using a striped fabric. So to mix things up a little the collar and yoke for the shirt in the book was running perpendicular to the rest of the shirt. So bear that in mind when you place your pattern pieces, it really depends on the print on your fabric and how you want it to appear on the shirt.
interfacing

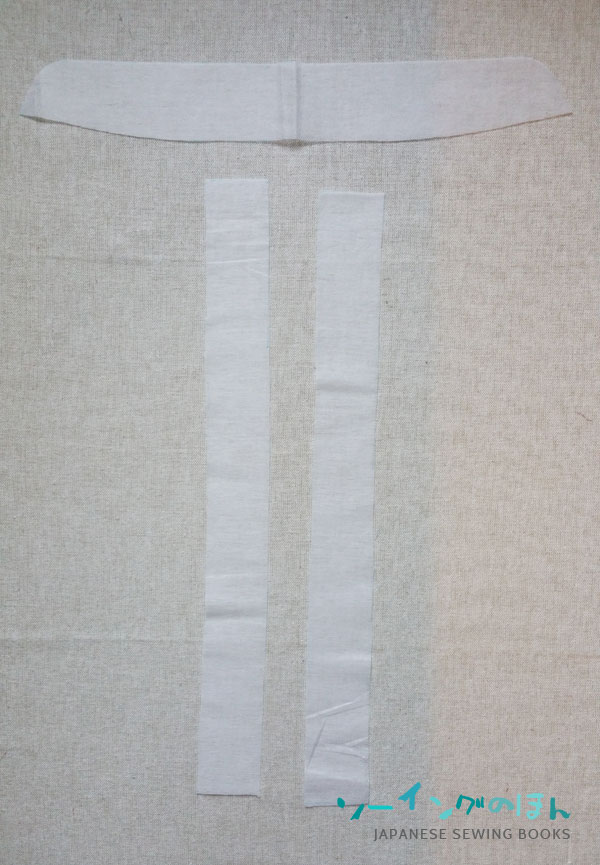
Next, you have to cut out the pieces for the Interfacing as well. Under the LAYOUT diagram, there is one more cutting diagram for FUSIBLE INTERFACING. The instructions for the FRONT FACING section are not very clear, and you may be confused over the “shape” of the front facing. Basically there are 2 x 4cm wide strips, meant to go onto the extended seam allowance of both Front pieces, which folds back to create the button placket. This interfacing will help to stabilize your button holes and buttons.

So now you should have all your pieces ready and let’s start sewing tomorrow! I will start with some prep work and then probably steps 1-3. Crossing my fingers I can stay on schedule 🙂 If you have any questions, ask them in the comments section below.

Updated : Post for Day 2 of sew-along, with a sewing video for steps 1-3 is now available.