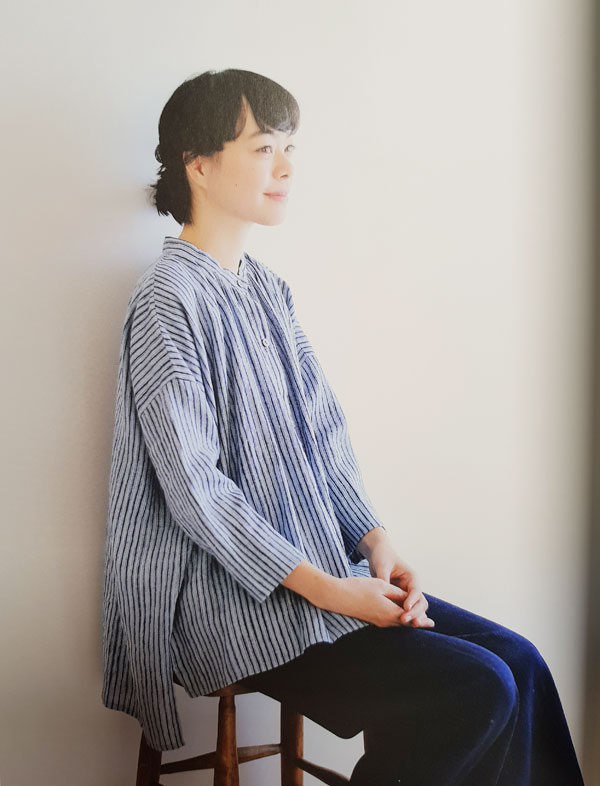
I was asked to translate the instructions for gathering of the collar in this shirt P, found in the latest nani IRO sewing book. There are 3 variations of this pattern – 2 of them are dresses (N and O) and the last one is this shirt P. All of them have similar instructions for steps 1-6, so I am translating them here for you.
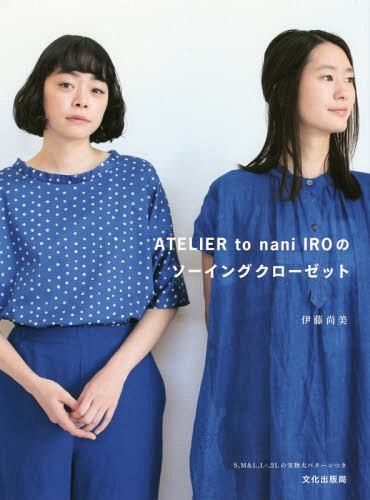
These translated instructions are for steps 1-6 found on pages 79-80 of the book Atelier to nani IRO’s Sewing Closet.
 (affiliate link)
- Make Breast Pocket and Attach
- Using thicker paper/cardboard, make a template of the breast pocket in the finished dimensions (i.e. without seam allowance).
- Double fold the pocket seam allowance (on the side indicated in the diagram) and stitch.
- Sew long stitches along the curved edge of the pocket
- Place pocket template on wrong side of fabric. Fold in the seam allowance and press. For curved edge, use the long stitches to pull the curved hem into shape and press.
- Place pocket on marked position on Front bodice and attach (refer to diagram for stitch lines)
- Make Tabs
- Place the two tab pieces, right sides facing, sew around the outer edge except for the top edge.
- Trim seam allowances to 0.5cm
- Turn out to the right side, and top stitch
- Make button hole on tab
- Make button placket and attach tabs
- At the bottom edge of the button placket position on the front bodice, stitch gathering (long stitches)
- Gather the bottom edge to the desired length (3cm in diagram)
- Fold and press button placket pieces according to the series of diagram (if you see the characted わ – that indicates a fold, 表 indicates right side of fabric, 裏 indicates wrong side of fabric)
- With right sides facing, attach each of the button plackets to the bodice. (note the orientation of the piece – 上 means upper, and goes on the right side of the wearer, 下 means lower, and goes on the left side of the wearer)
- Wrap the lower button placket around the centre front by turn it to the back, and top stitch in place
- Do the same for the upper button placket.
- Align the ends of the slit together and sew in the tabs in between. (Refer to the diagram for how to stitch down the bottom end.
- Sew shoulder seams
- With front and back bodice pieces right sides facing, align at shoulder seam and sew.
- Overlock/Zig-zag stitch the seam allowances together to finish the raw edges.
- Iron the seam allowance towards the back
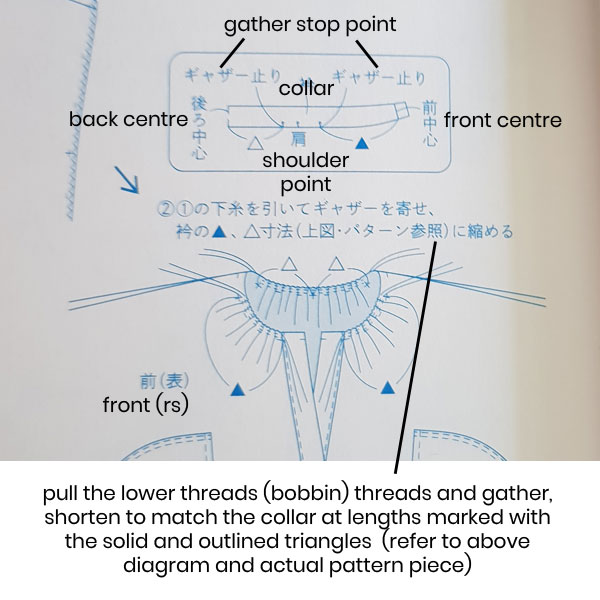
- Gather Neckline
- Sew with the longest stitch length, make two rows of gathering stitches on the front and back bodice pieces respectively, between the marked points on the pattern – ギャザー止り which means end of gathers.
- Using the lower threads, pull to gather to the lengths marked on the diagram.
- Make collar and attach
- With the two collar pieces right sides facing, sew around the sides and top (stopping 1cm from the bottom edge) as marked in the diagram.
- Trim seam allowance to 0.5cm
- Turn the collar out to the right side and iron
- With the right sides of the outer collar facing the bodice, align the collar around the neckline and Keep the inner collar out of the way.
- Clip curves in the seam allowances
- Flip the Inner collar over so that the seam allowance is folded over the neckline. Top stitch from the outer side to sew down the inner collar. (refer to diagram for seam allowances)


