School holidays officially started this week. I’m overjoyed that I don’t have to wake up in the dark for one month, but at the same time, there will be very little time for blogging and sewing and taking videos. Therefore during the month of June I’m going to work on guides and translations. Basically catching up on all the half written posts and updates I’ve been wanting to for a long time.
There will be book reviews of Japanese sewing books that have been translated to English (did you catch the Now in English version of Feminine Wardrobe on Monday?) , translations requests that I have done and should have put them up long ago, and also a much needed update to my list of sewing terms. I will also be organizing some of my archived contents to make it more useful for your reference if you are just starting out with Japanese sewing books.
The first translation request I’m going to talk about came in the second week of May. That was before I received my copy of Feminine Wardrobe in English. The pattern that needed to be translated was pattern A in the book which is the pattern for this dress.
and the tunic top below.
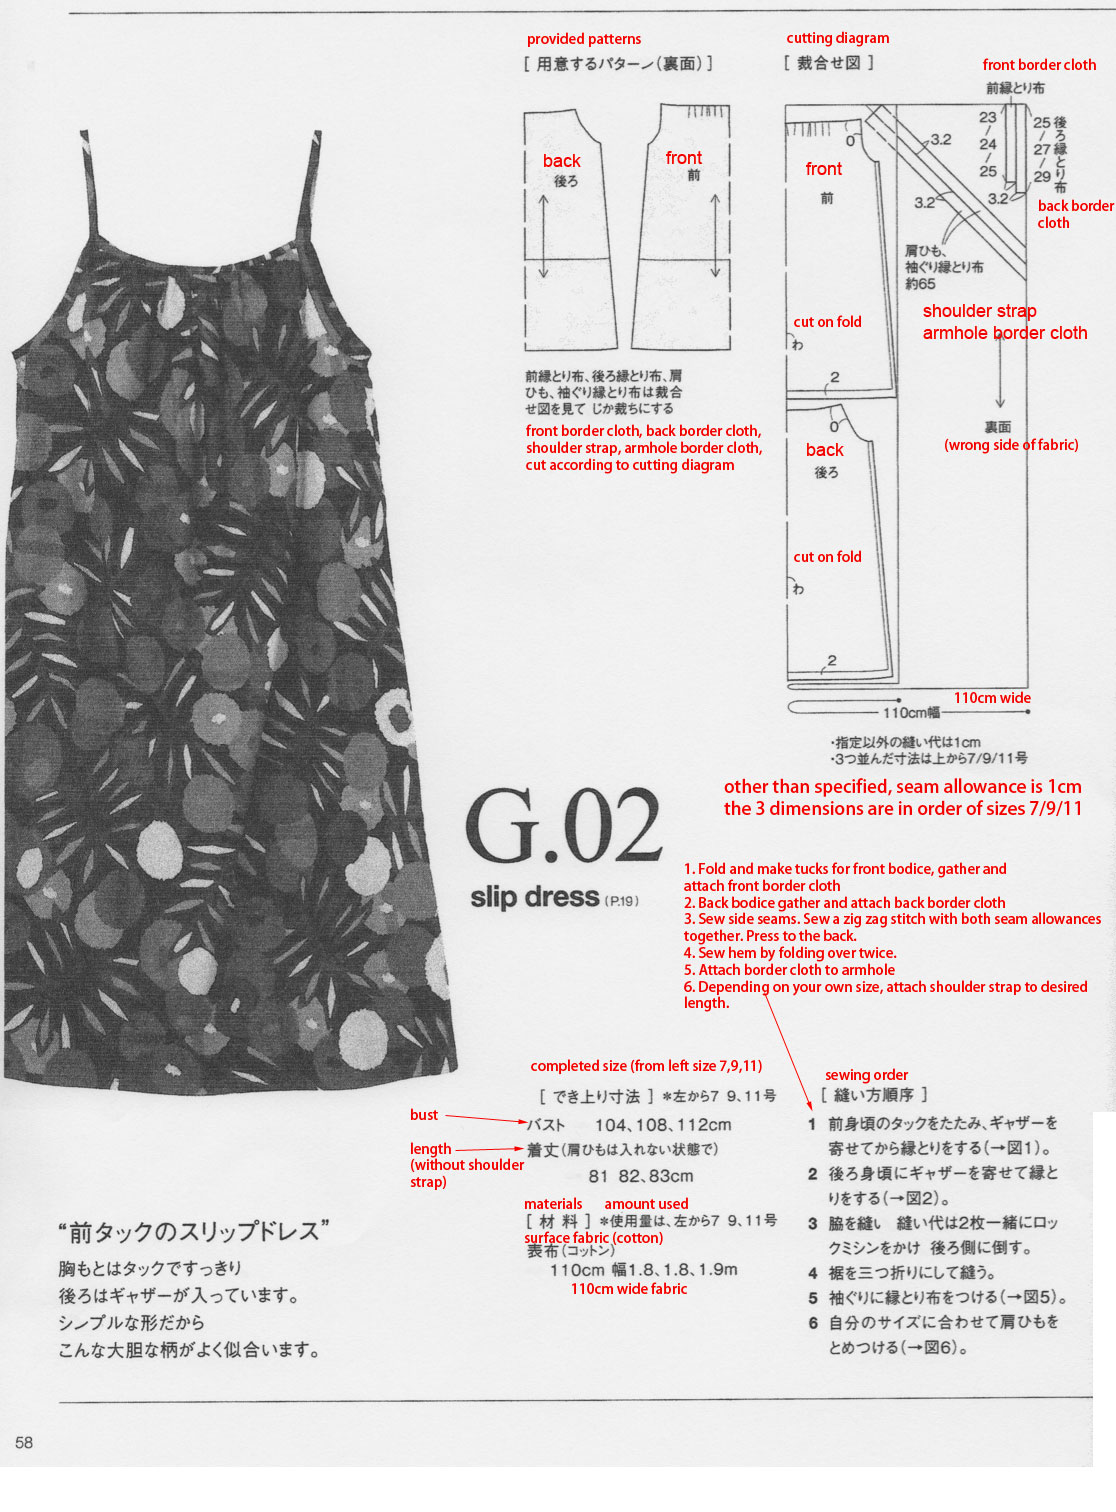
It was an interesting project because Jill, who sent me the request, actually had some help with the translation but was not able to sense out of it. I looked through the translation and found that other than one major mistake by the original translator, the confusion was probably due to direct translation of the words rather than translating into sewing terms. So I made an attempt to do my version below. I added some explanatory notes in grey, and tried to explain it in sewing terms rather than translating word for word.

There was a specific step that was a little difficult to understand. It involved sewing of the of the facing to the bodice around the armholes. In this dress, there is one piece for the front bodice and one for the back. The garment is A-lined so no back enclosure from neck down to the waist was needed. However, there needed to be a opening in the neckline for the head to get through. The pattern called for the neckline to be sewn and topstitched first, before sewing the armholes. For tops with 2 separate back bodice pieces, you can sew the neckline and armholes right sides together, then pull through the shoulder gaps to flip the garment right side out. In this case, there is only one back piece so if you sew the neckline and armholes in the usual way, it will not be possible to turn the garment right side out.
Compare my translation (above) to the one below (from the English version). After reading both, I can say that neither explained it very well. Yup even my own doesn’t sound quite right. I can see it in my head because I wrote those words, but I’m not sure if the message gets across.
So I made a video tutorial! Just a short one that skips the first few steps and goes straight to the important bits, so please ignore the poor sewing (like any mis-alignments of seams if you spot any). I used a child size bodice so that everything could fit in better within the viewfinder and more wide angle shots can be taken easily compared to an adult size pattern. I hope I am doing it right, or at least this is my interpretation of the instructions which seems to work.
There is another pattern in another book 毎日の心地よい服 (Step 7 of Flare blouse “G”) that used this method. I will post the translation of that blouse next week. I hope this will help those of you who are trying to follow the instructions for sewing the armholes. Happy Sewing!


3 Comments
Thank you. If I ever make this dress I will refer to this tutorial.
this is where i went wrong i sewed up the side seams first….doh!!!!! im sure thats what it showed on the instructions, i will keep this video so i can refer to it again to remind me. also i was using fabric that wasn’t obviously wrong side right side and i just ended up very confused indeed. thank you so much. i love the little pegs you use ive seen these before in videos but haven’t seen them for sale? any ideas?
Hi Sheri, these are sewing clips from Clover, I bought them in Japan. They are fab for knits (grips well) and fabrics where pins might leave holes and leave unsightly marks. I love them because it lowers my chances of getting pricked. 😛 I actually have a brand new pack stashed away for giveaway so look out for that. Shhhhh……