Quick Recap of what we covered last week
Part 1 (6 Aug) – How to use the book, locating the patterns on the pattern sheet, tracing and adding seam allowances.
Today we will be cutting out the fabric pieces, preparing the pieces for sewing, and completing steps 1 (front to front yoke) and 2 (making the placket)
The last two weeks we will cover
Part 3 (20 Aug) – Step 3 (Back to back yoke), Step 4 (Sewing front and back yokes together), Step 5 (Attaching the tie collar)
Part 4 (27 Aug) – Step 6 (Finish armholes), Step 7 (Pockets and side seams, Step 8 (Hemming)
Before we begin, let’s talk about pre-washing.
Prewashing
Do you pre wash your fabric? It depends. For garments I will pre-wash if the final garment is meant to be fitting or if the length of the skirt/dress/pants is crucial. Especially if the substrate is made of natural fibres like cotton or linen that is sure to shrink a little, I will always prewash. Nothing special about the process since you should wash it the same way you would treat your laundry since that’s the way you will wash it after you are done sewing. For me I will serge the raw edges (very important or you will end up with a mess of threads) and also put it in a laundry net. Throw it in the washer and dryer, and always iron it before cutting it out. A crumpled piece of fabric will result in uneven pieces and affect the final outcome.
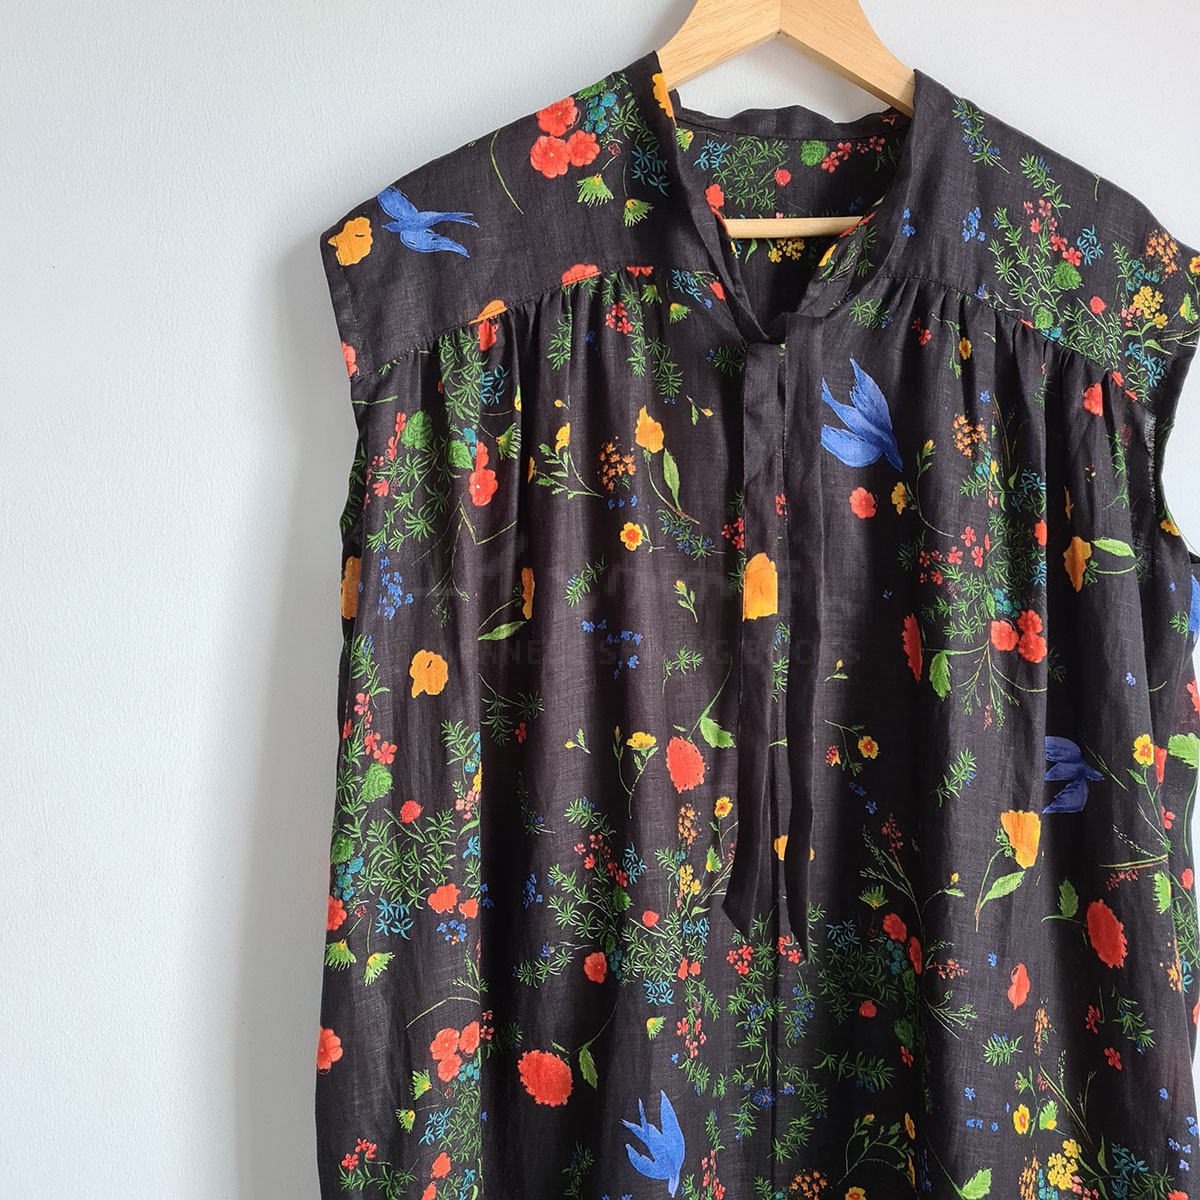
Having said that, there are times when I do not pre-wash. For example, in this video, the garment is a very loose fitting one. Even the neckline is an adjustable tie collar. So I did not prewash it. Length wise it might shrink a little but for this casual style and such a long dress it may not be very visible so I decided to save time and skip it.
Other than garments, I do not prewash when I’m making bags as well, because I find that certain fabrics especially quilting cottons tend to lose the “shine” and develop a slight worn looking “fuzz” once washed, which ruins the look of the bag. So I never prewash fabrics when making bags.
Ok let’s get started with today’s sew-along video, shall we?
Some notes about today’s sew-along.
Gathering of front yoke
The usual practice when gathering is to divide both the gathered piece, as well as the piece to be attached to, into equal sections so that you can pin them down at equal intervals and get an evenly gathered piece. However as you can see I did not do that in the video. This is because the 2 sections to be gathered are actually quite short so I was able to even out the gathers visually.
Attaching front to front yoke
In the instructions, the front piece is sewn to both the inner and outer yokes in one step by sandwiching the gathers between the inner and outer front yoke. However, as I prefer to adjust the gathers as I sew, I did this in two steps. First by sewing the gathered sections to the outer yoke with slightly less than 1cm seam allowance, then finishing with the inner yoke with a 1cm seam allowance. You can do it either way.
Cutting with Scissors vs Rotary Cutter
If you are cutting fabric with a scissors, it might help to place more fabric weights or even pin your paper pattern pieces to the fabric. I use only two weights because when cutting with a rotary cutter I don’t have to lift the fabric so it doesn’t shift much. The fabric weights are just to keep the piece of paper in place. If you don’t have a rotary cutter / cutting mat, I strongly recommend it, it is a real game changer!
Transferring marks and notches
In the video I transferred all the marks and notches from the paper pattern to the fabric pieces. However some of it might get obscured once we serged the fabrics (especially the side pockets and side seams) so we will mark them again at a later stage. The more important marks and notches are the ones that show you where to gather for the front and back pieces, front and back yoke pieces, and also marking out the seam lines on the placket is important for a neat finish on the placket.
Where to buy (aff links)
Sewing book – A Year of Sewing with Nani Iro – https://amzn.to/3Jw73Ml
Clover curve rulers with seam allowances – https://amzn.to/3oWnHen
Clover long ruler (50cm) – https://amzn.to/3zE5szh
Staedtler 9mm mechanical pencil – https://amzn.to/3JGkycs
Clover Awl (I can’t find the wooden version online sorry!) – https://amzn.to/3w6UZf9
Leonis Water Erasable Marking Pens. I was surprised when I received these because they were so small but despite it’s size they have outlasted any of the other markers I’ve had and does not dry out. – https://amzn.to/3w6UZf9
Clover Wonder Clips (Mini) good for thin fabrics and smaller crafts as it won’t weight it down – https://amzn.to/3w6UZf9
Clover Wonder Clips (regular) – more sturdy for holding pieces together for example when gathering – https://amzn.to/3bx9GAP
Panasonic cordless iron (it’s a small iron and no cord so it’s perfect for crafting. The shape of the iron also means you don’t have to twist your arm to iron hard to reach places like in between buttons – https://amzn.to/3vICXj8
Olfa Rotary Cutter 28mm – https://amzn.to/3oW8IBg
Olfa 28mm blades – https://amzn.to/3da4VxM
Olfa Small scissors (super sharp and precise for snipping curves and tiny areas) https://amzn.to/3zzCGzW
Olfa Cutting Mat – I join 2 sizes together A1 and A3 to fit on my Ikea cutting table https://amzn.to/3P5rZuy
And that’s it for today! I hope the video wasn’t too fast and the notes were clear enough. See you next week for part 2 where we will start cutting out fabric!
Credits
This sew-along is brought to you by Zakka Workshop. Zakka Workshop is a publisher of distinctive craft books, patterns, and kits inspired by fresh, contemporary Japanese design. They have lots of interesting craft books so do check them out at ZakkaWorkshop.com!


No Comments